Create a New Sequence
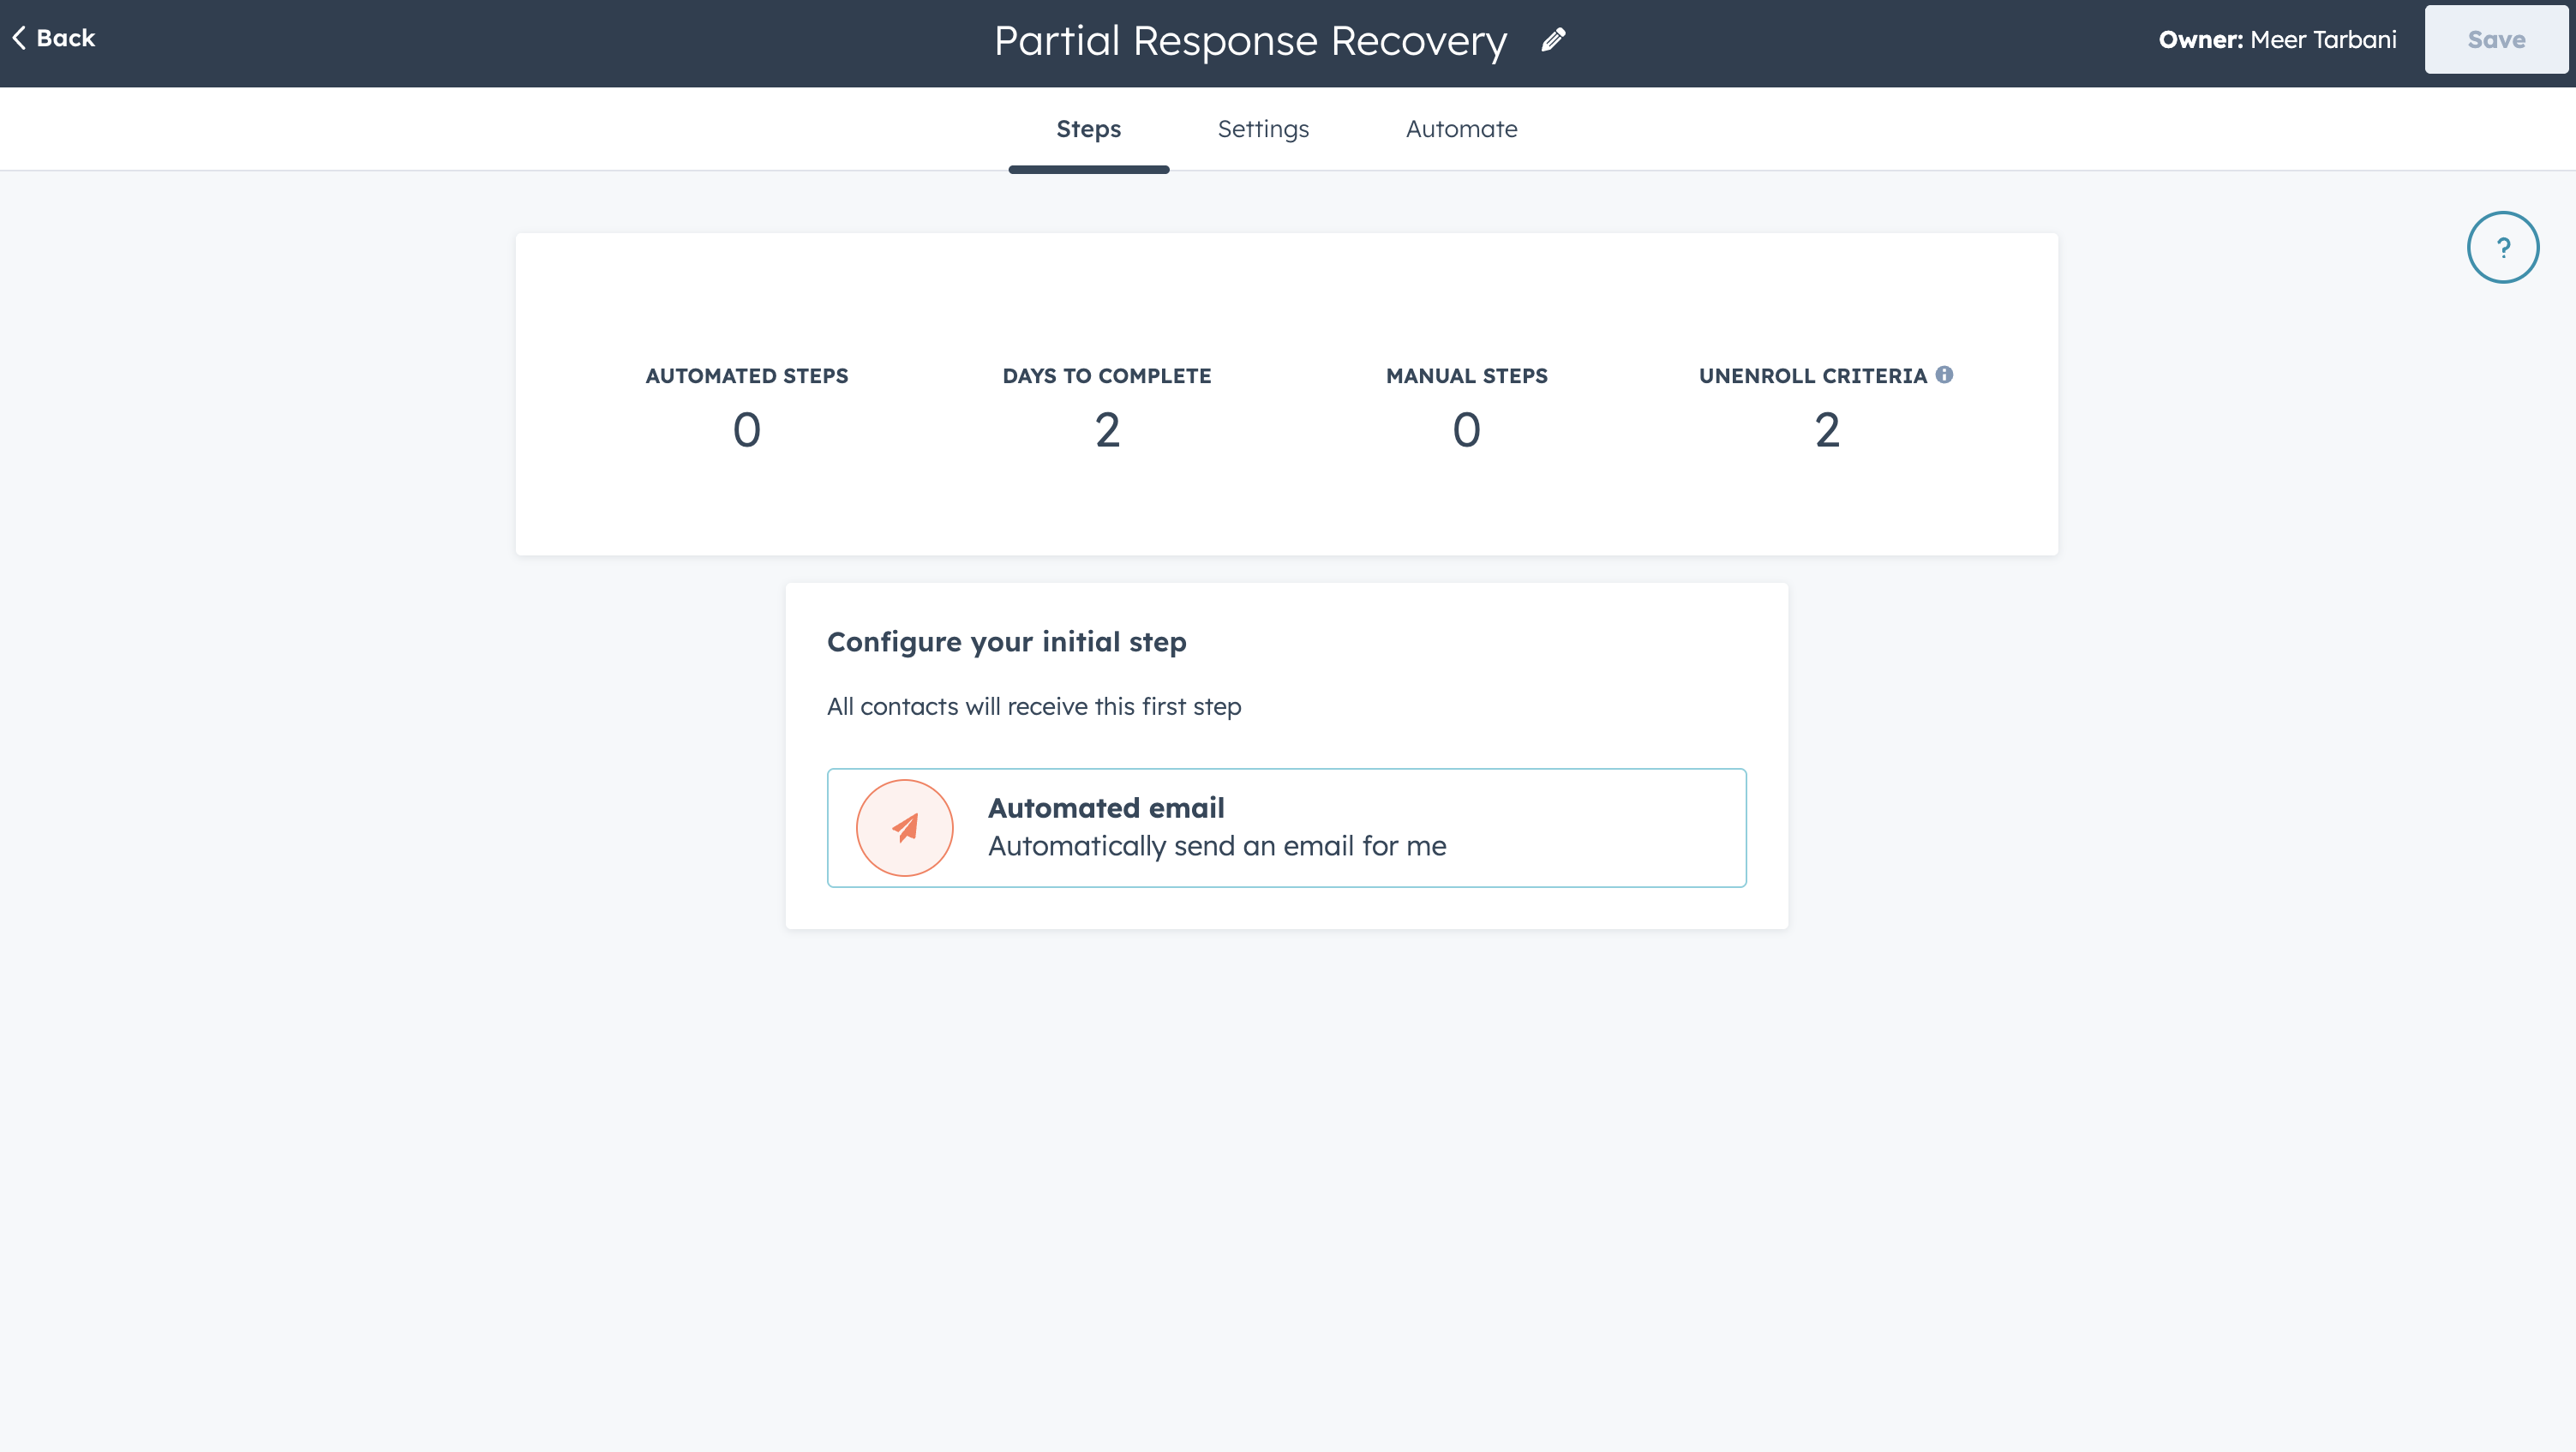
- In HubSpot, go to Sales → Sequences → Create sequence
- Name the sequence (e.g., “Surface form follow-up”)
- Under Steps, click Automated emails to add your first email
Add or Choose an Email Template
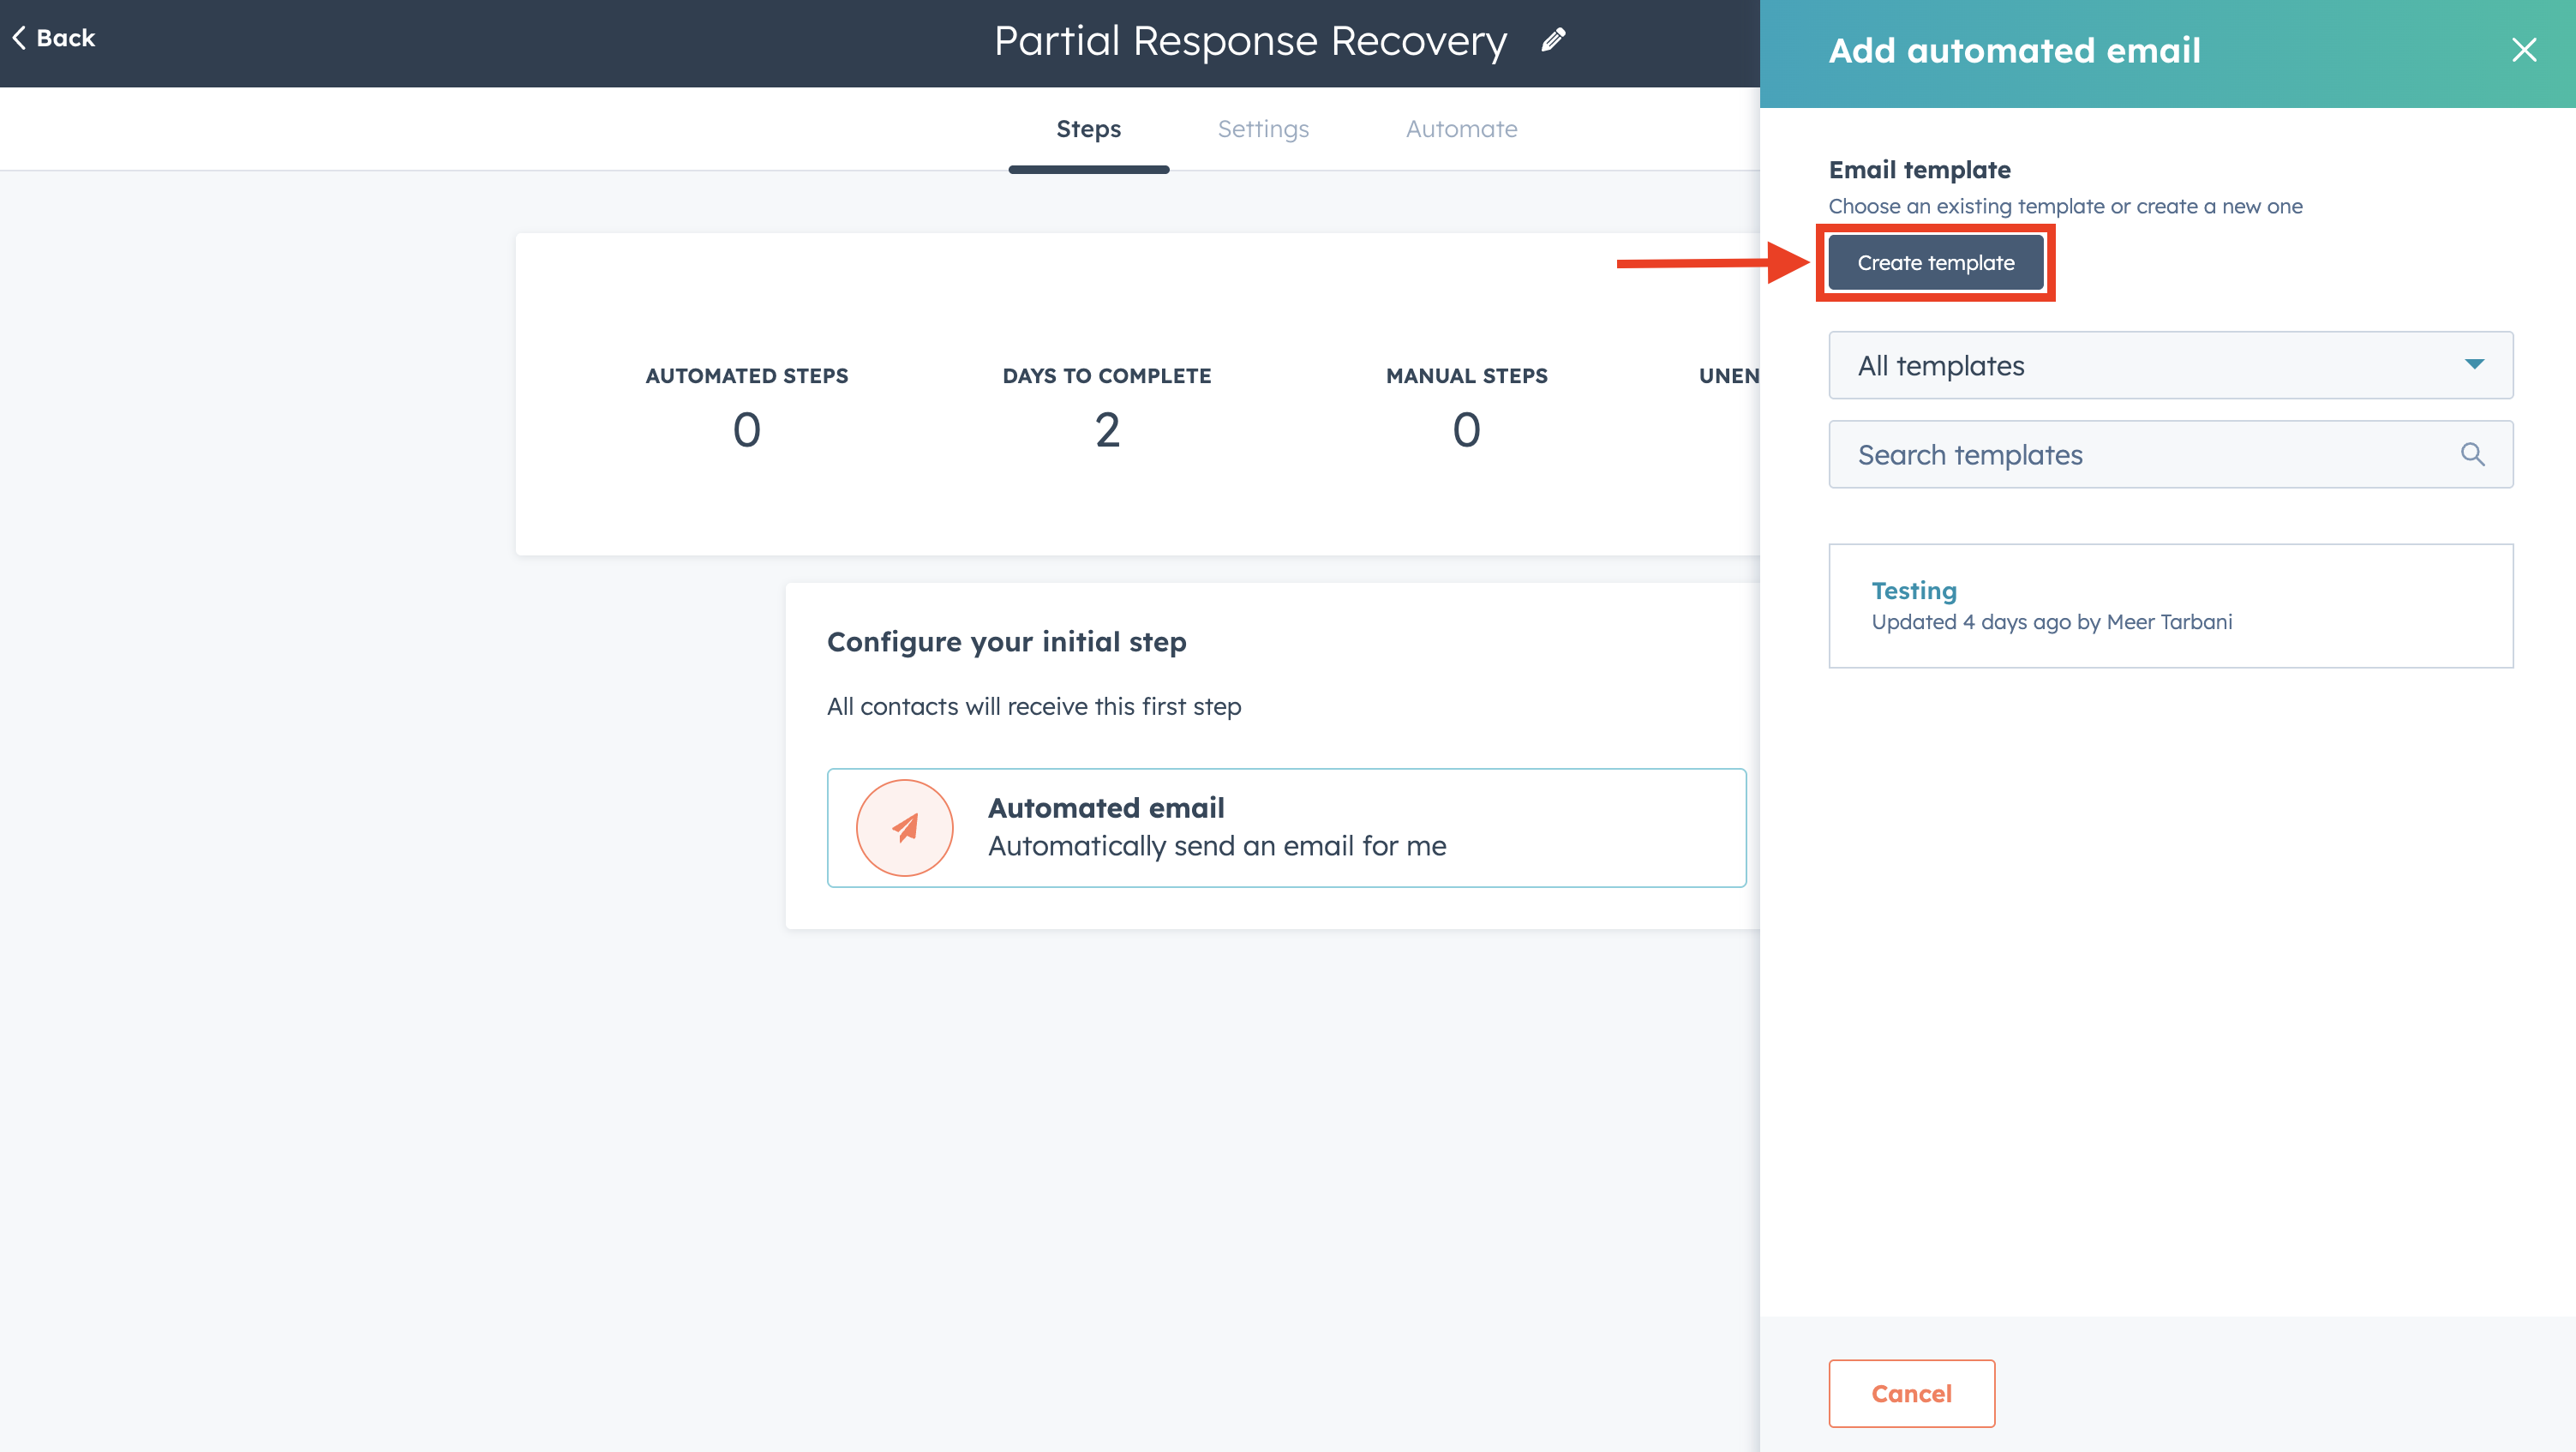
- Use an existing email template from the list, or
- Click Create new template to build one from scratch
Add Form/Contact Fields to the Email (Personalization Tokens)
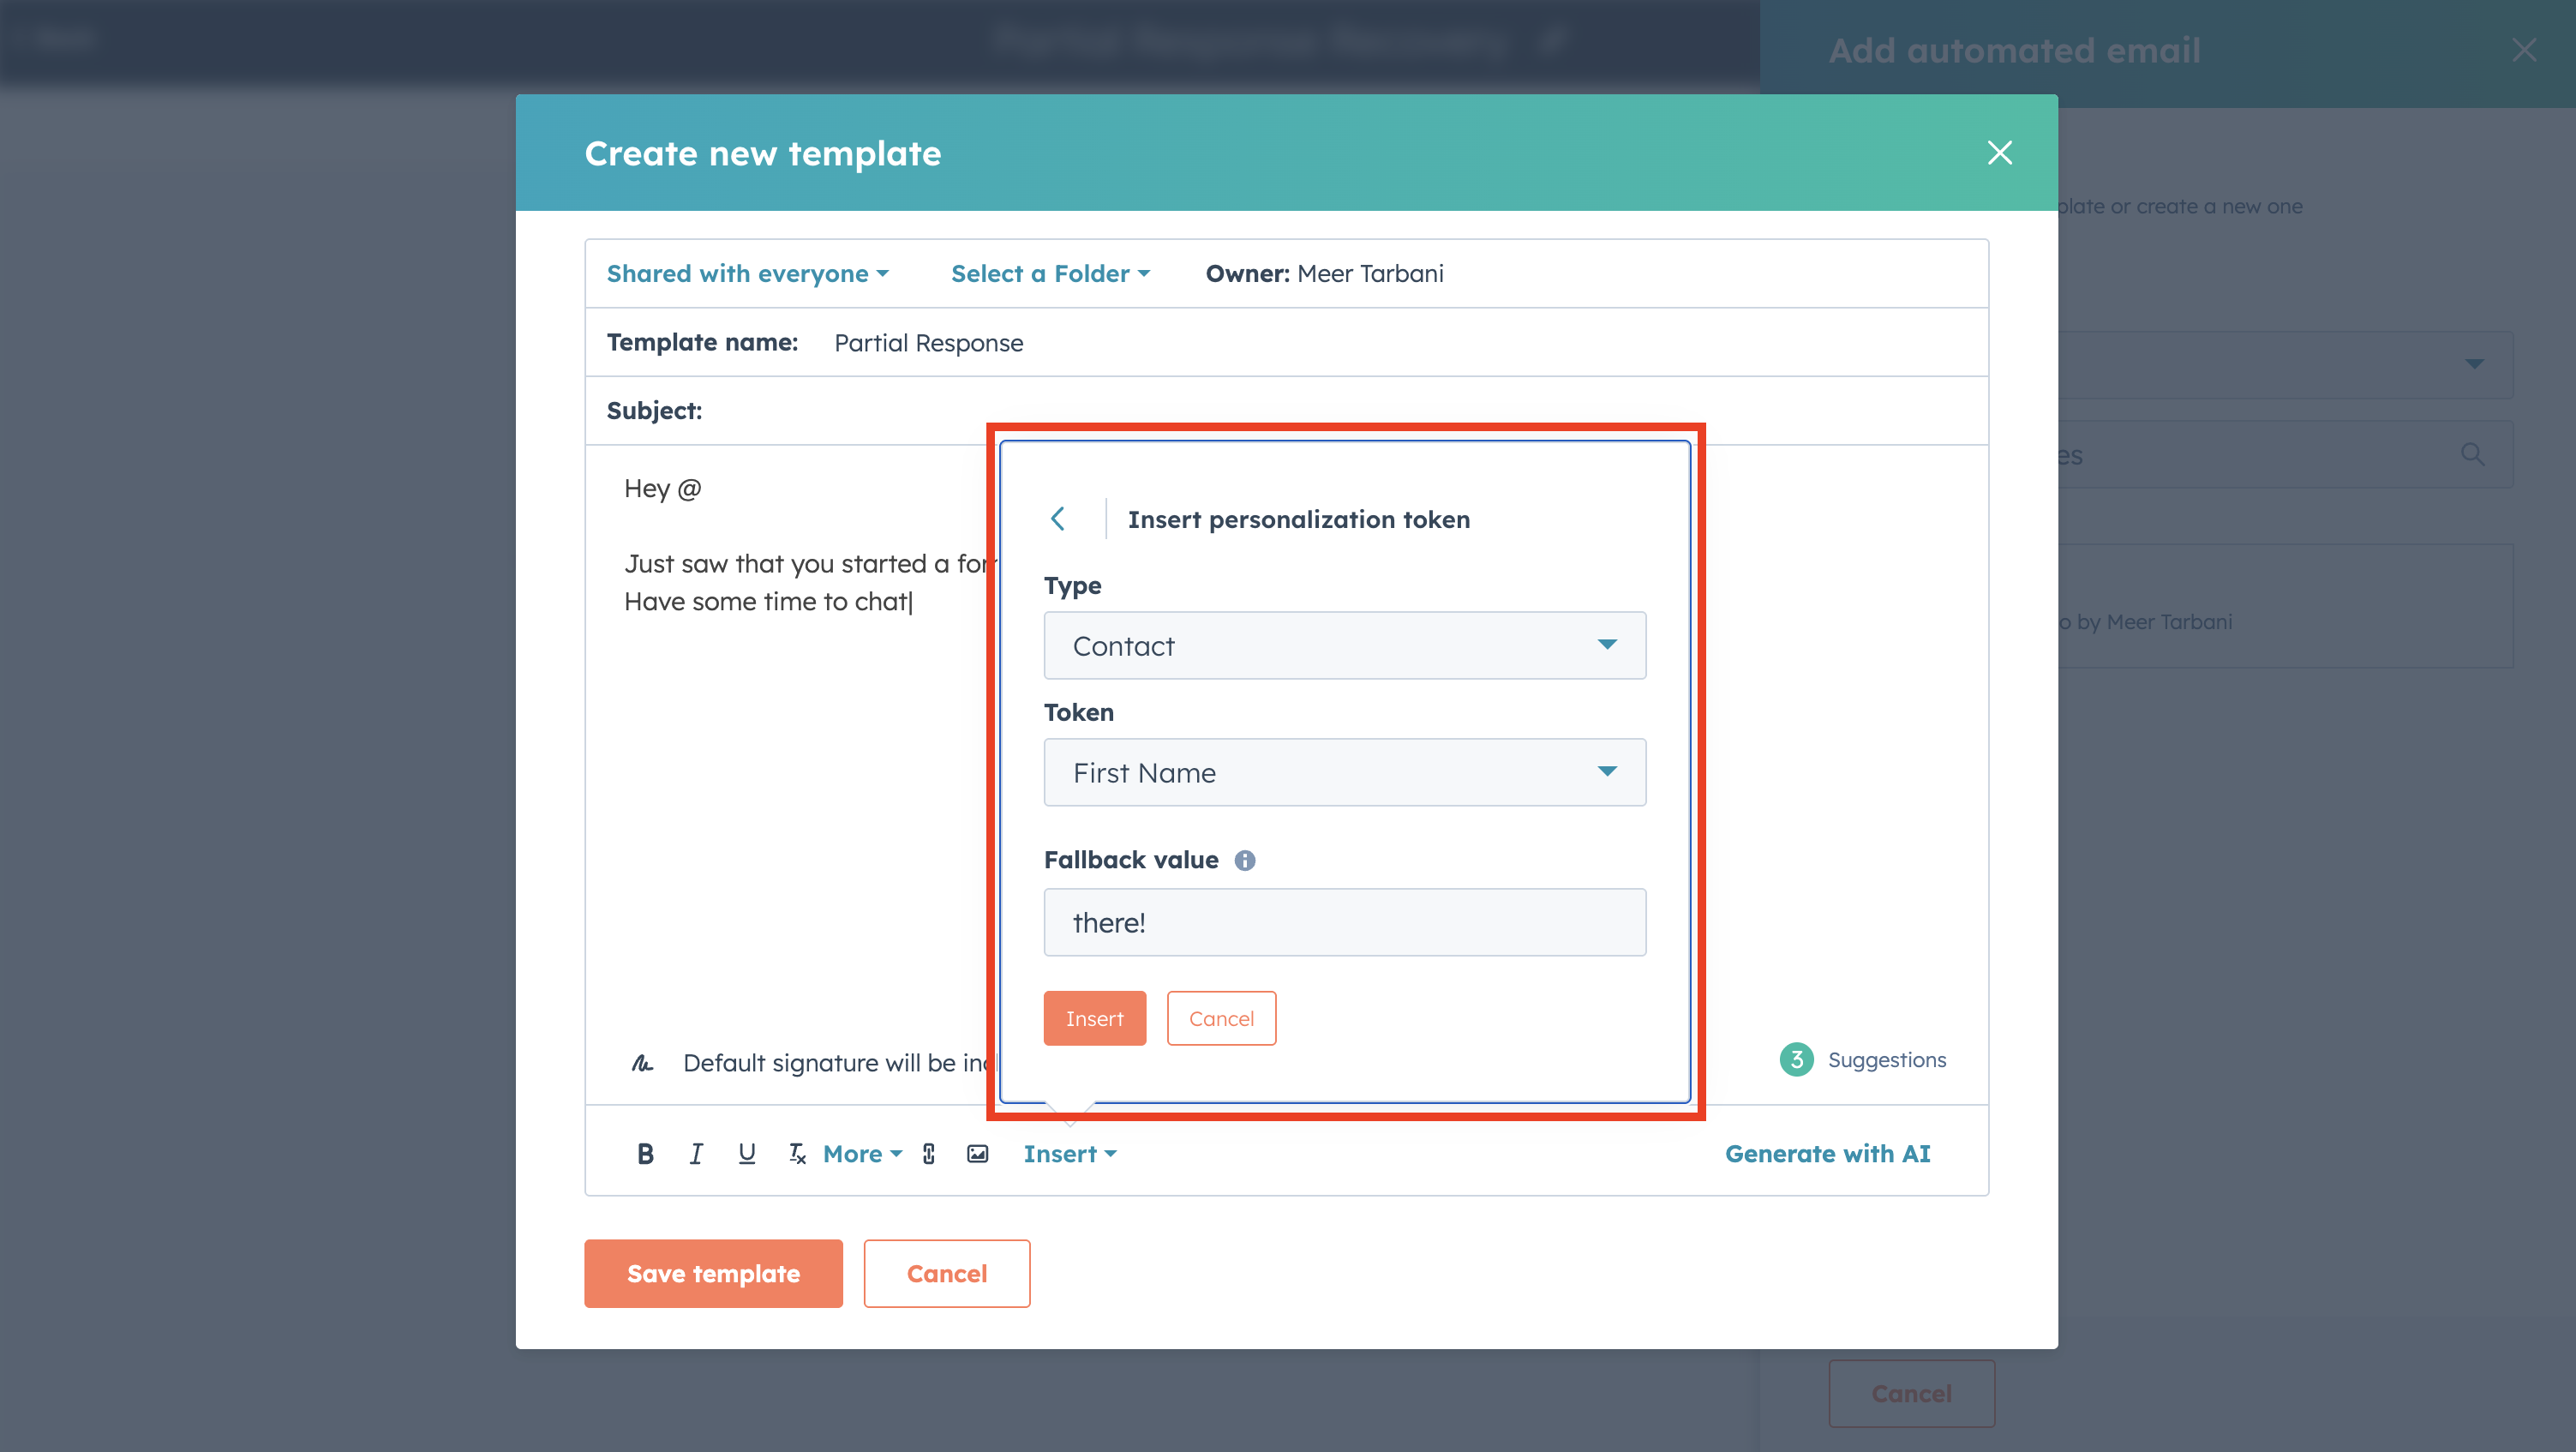
- In the template editor, place the cursor where you want the dynamic value (e.g.,
Hi {{ firstname }},in HubSpot) - Click Insert → Personalization tokens
- Choose Contact and then select the property you want (e.g., First name, Last name, Company)
- In the token dropdown, configure a fallback value for contacts who don’t have that field (e.g., “there” if first name is empty)
- Click Insert
Tokens pull from the contact record in HubSpot. When Surface sends a form response via Create Form Response, HubSpot updates the contact with the submitted fields, so values like first name and last name will be available in the sequence email if you mapped them in your workflow.
Add Your HubSpot Meeting Link

- In the template editor, click Insert → Meetings
- Select your HubSpot meeting link (the one you use for scheduling)
- Click Insert
Save the Template
- Finish editing the subject line and body (including any other copy)
- Click Save (or Save template) to store the template
- The first sequence step is now set with this automated email