
Creating Your First Surface Form
Learn how to create your first Surface Form
1. Login to Surface Labs
Navigate to the Surface Dashboard and log in with your credentials.
2. Create a New Form
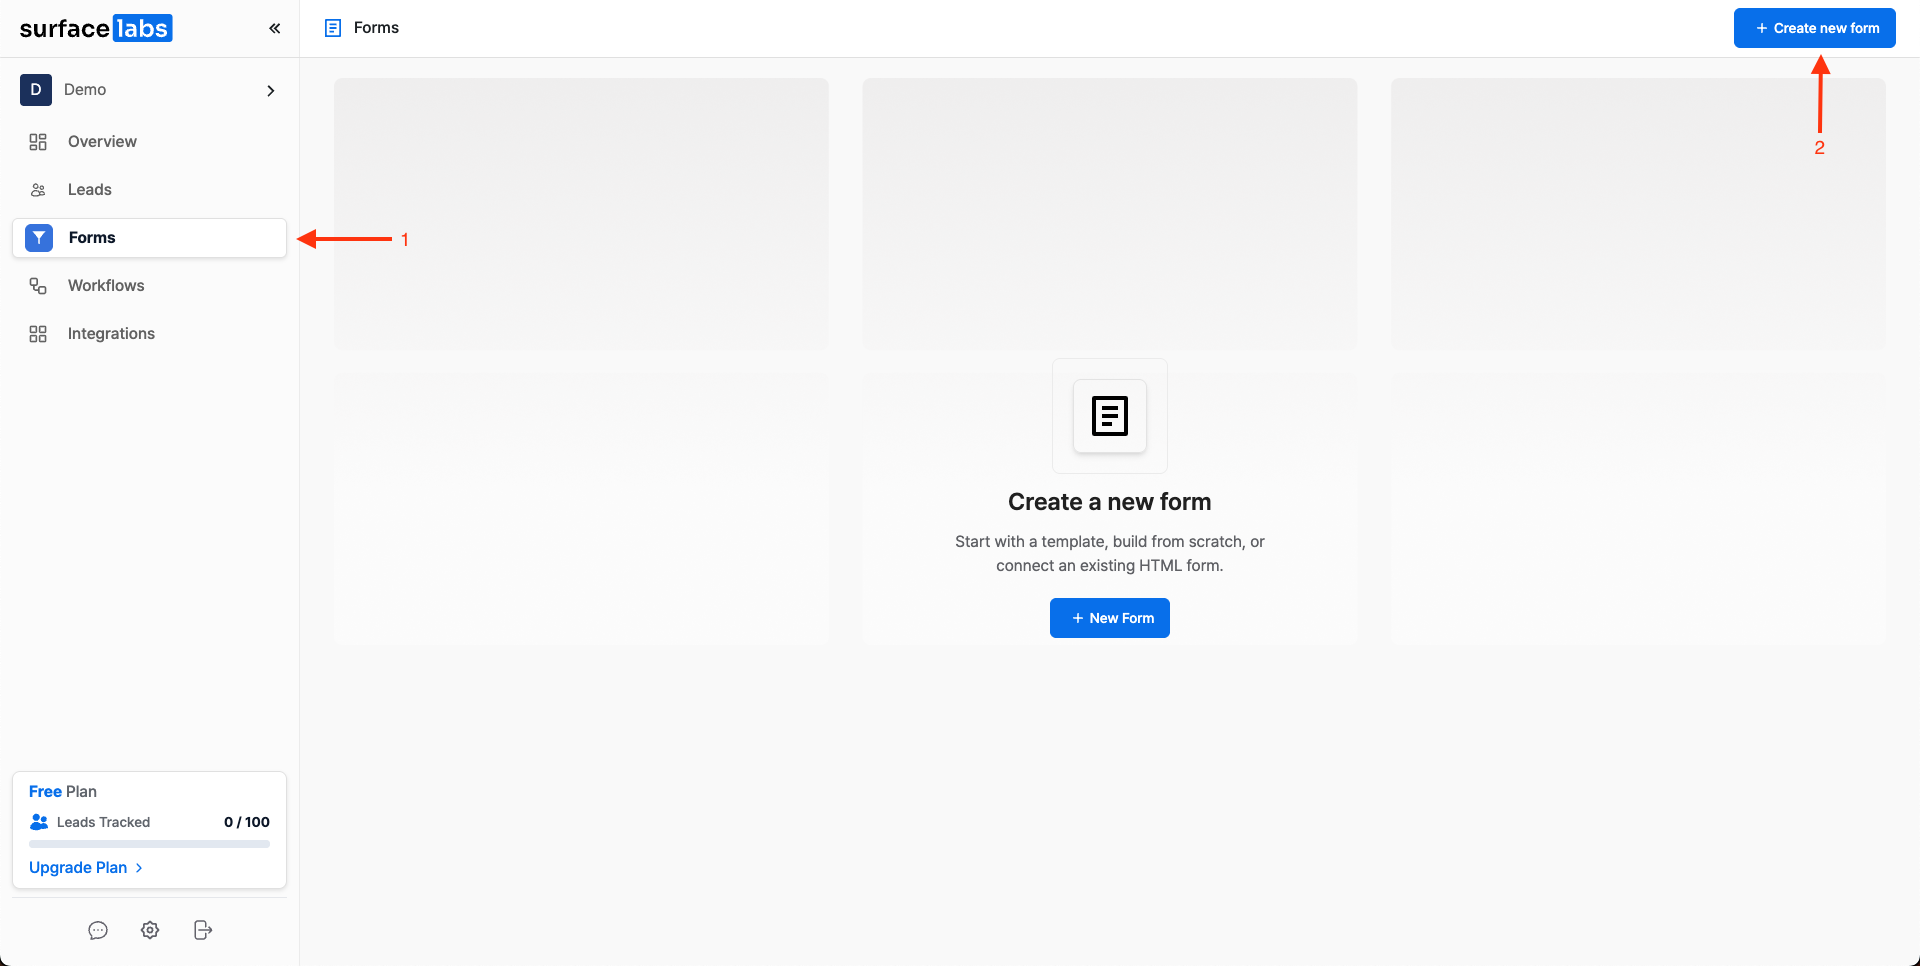
Go to the Forms tab and press Create New Form in the navigation bar.
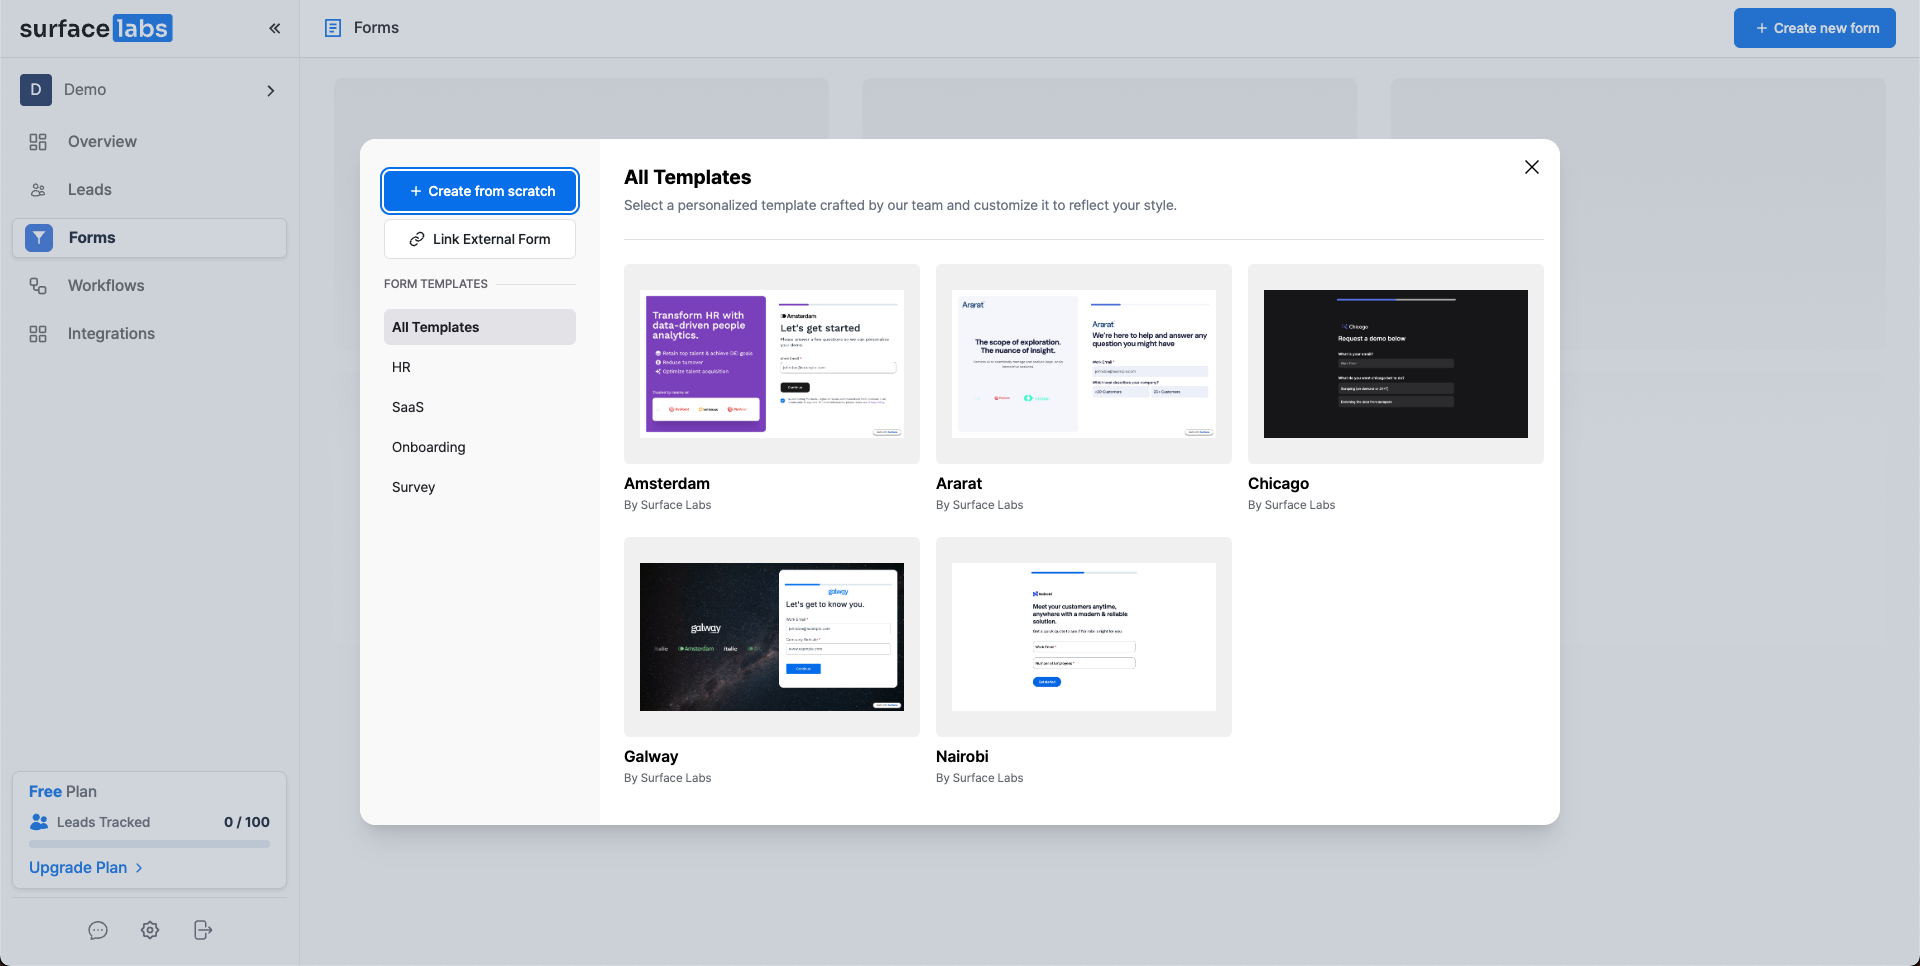
Start from Scratch or Choose a Template
3. Select a Layout
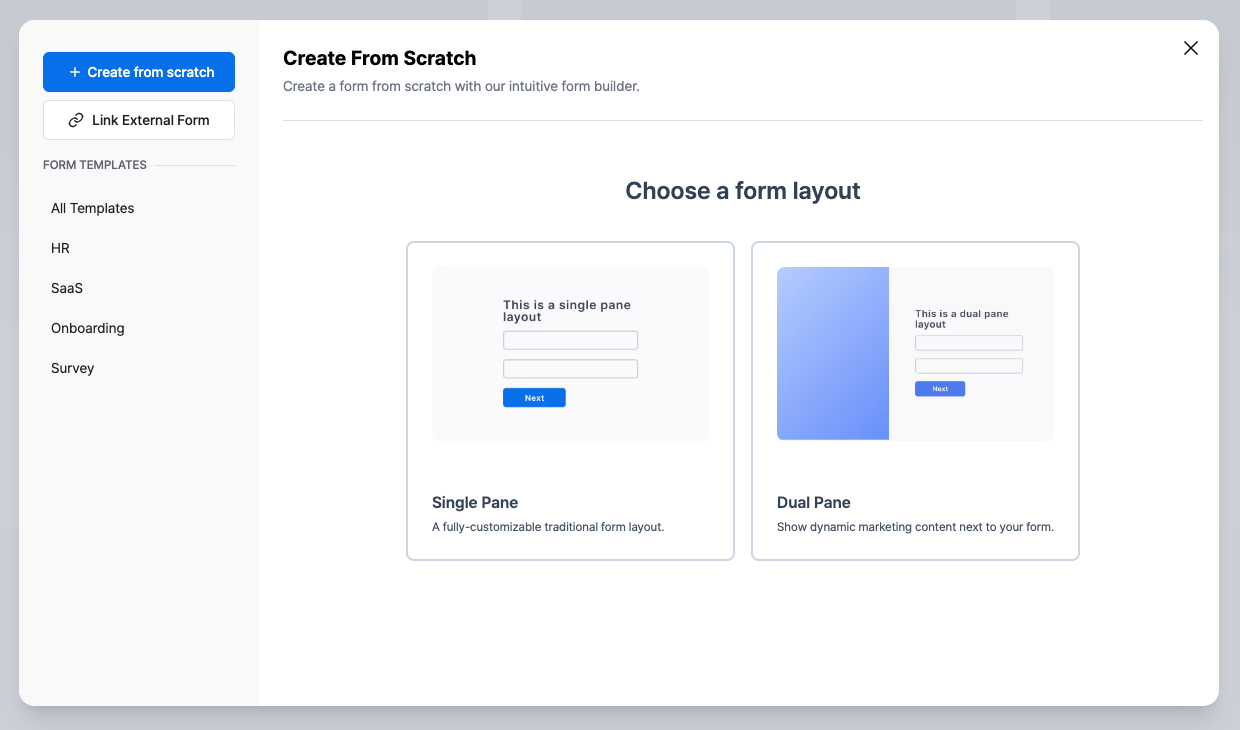
Choose a layout for your form from the following options:
- Single Pane: A simple form layout with a single column
- Dual Pane: A form layout with two columns, ideal for marketing purposes
4. Build the Form
Overview
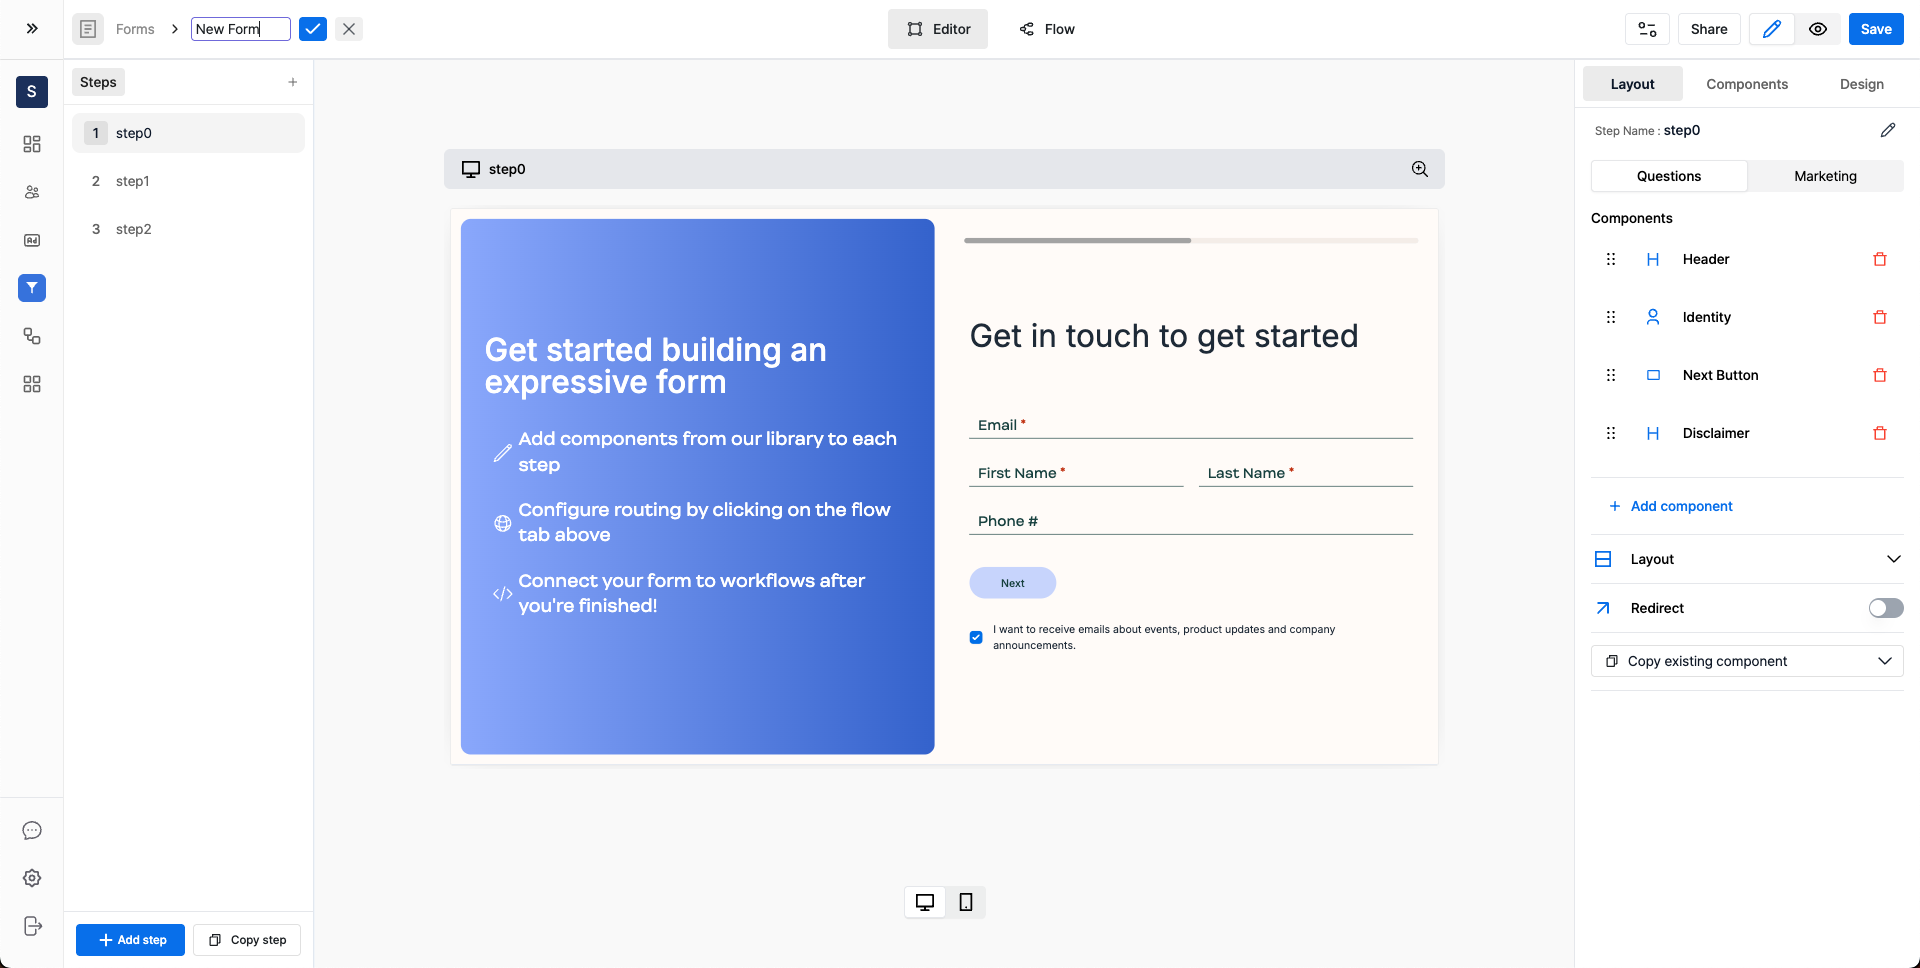
Surface Forms provides an initial template to start from. You can either edit the existing template or create a new one.
Form Steps
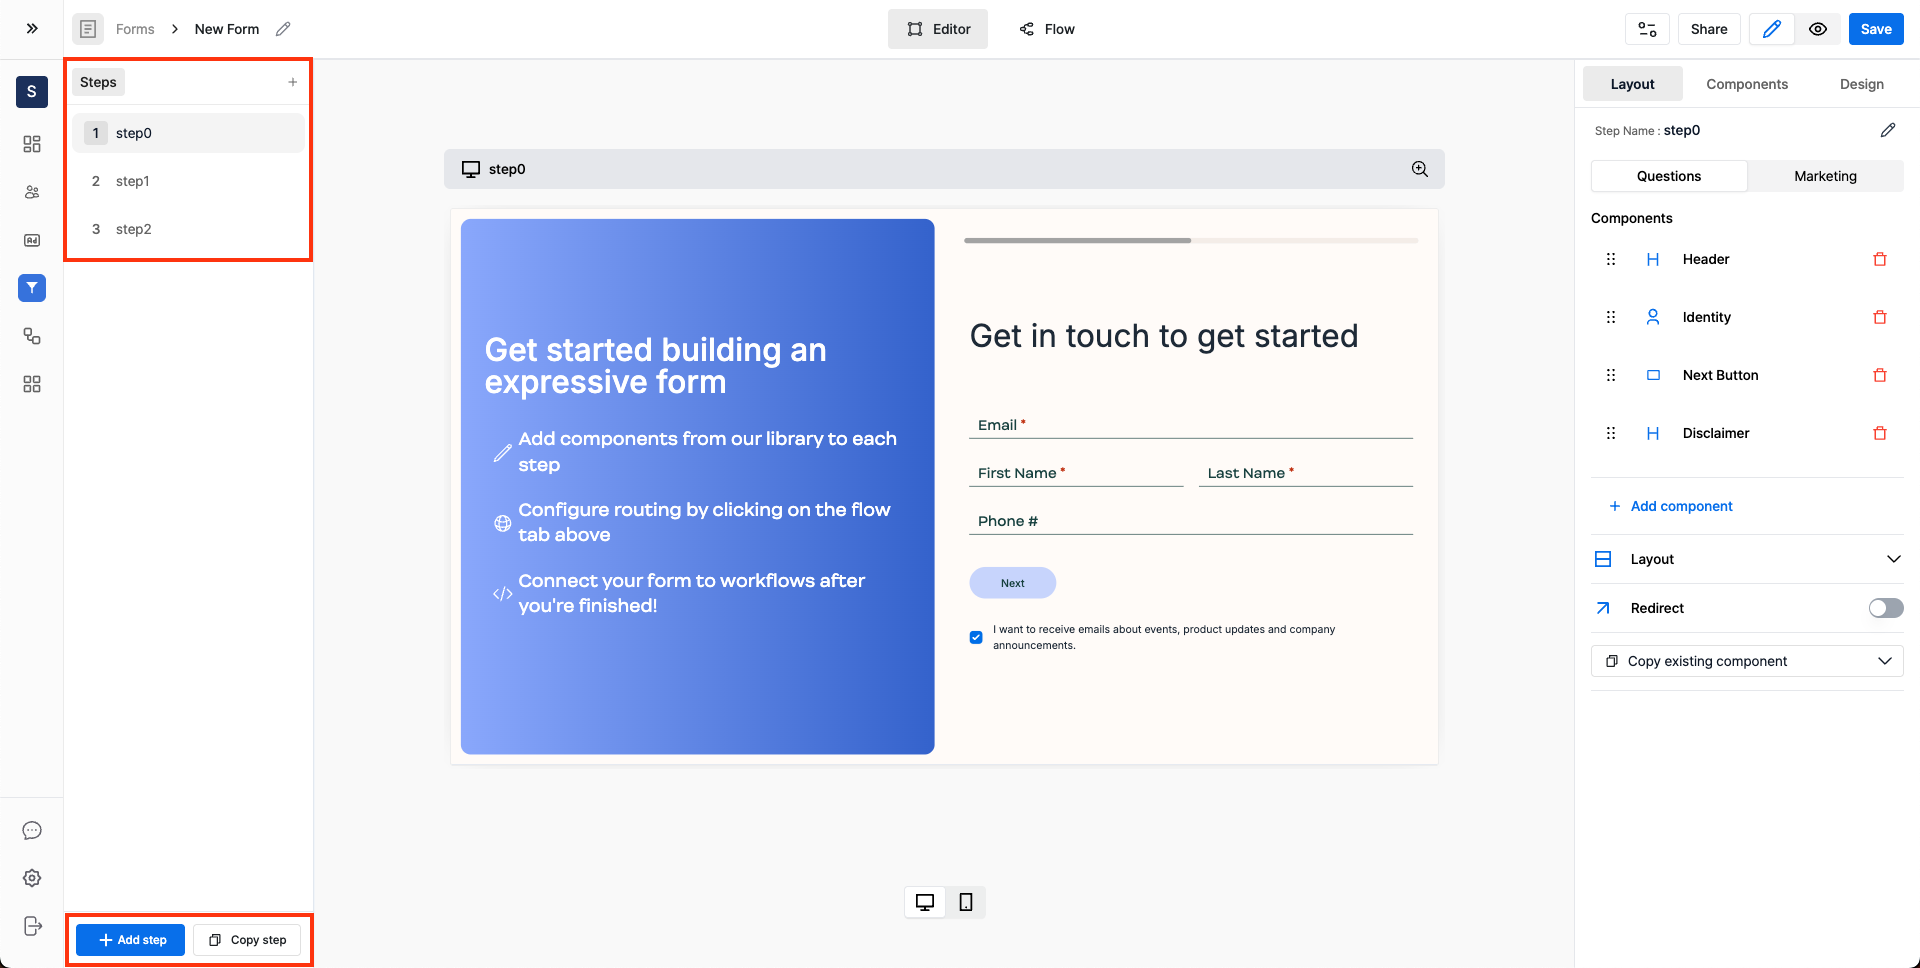
Form steps are listed on the left side of the form builder under the Steps section.
Add New Steps
To add a new step, click on the + Add step button or copy an existing step by clicking on the Copy step button.
Edit the Step
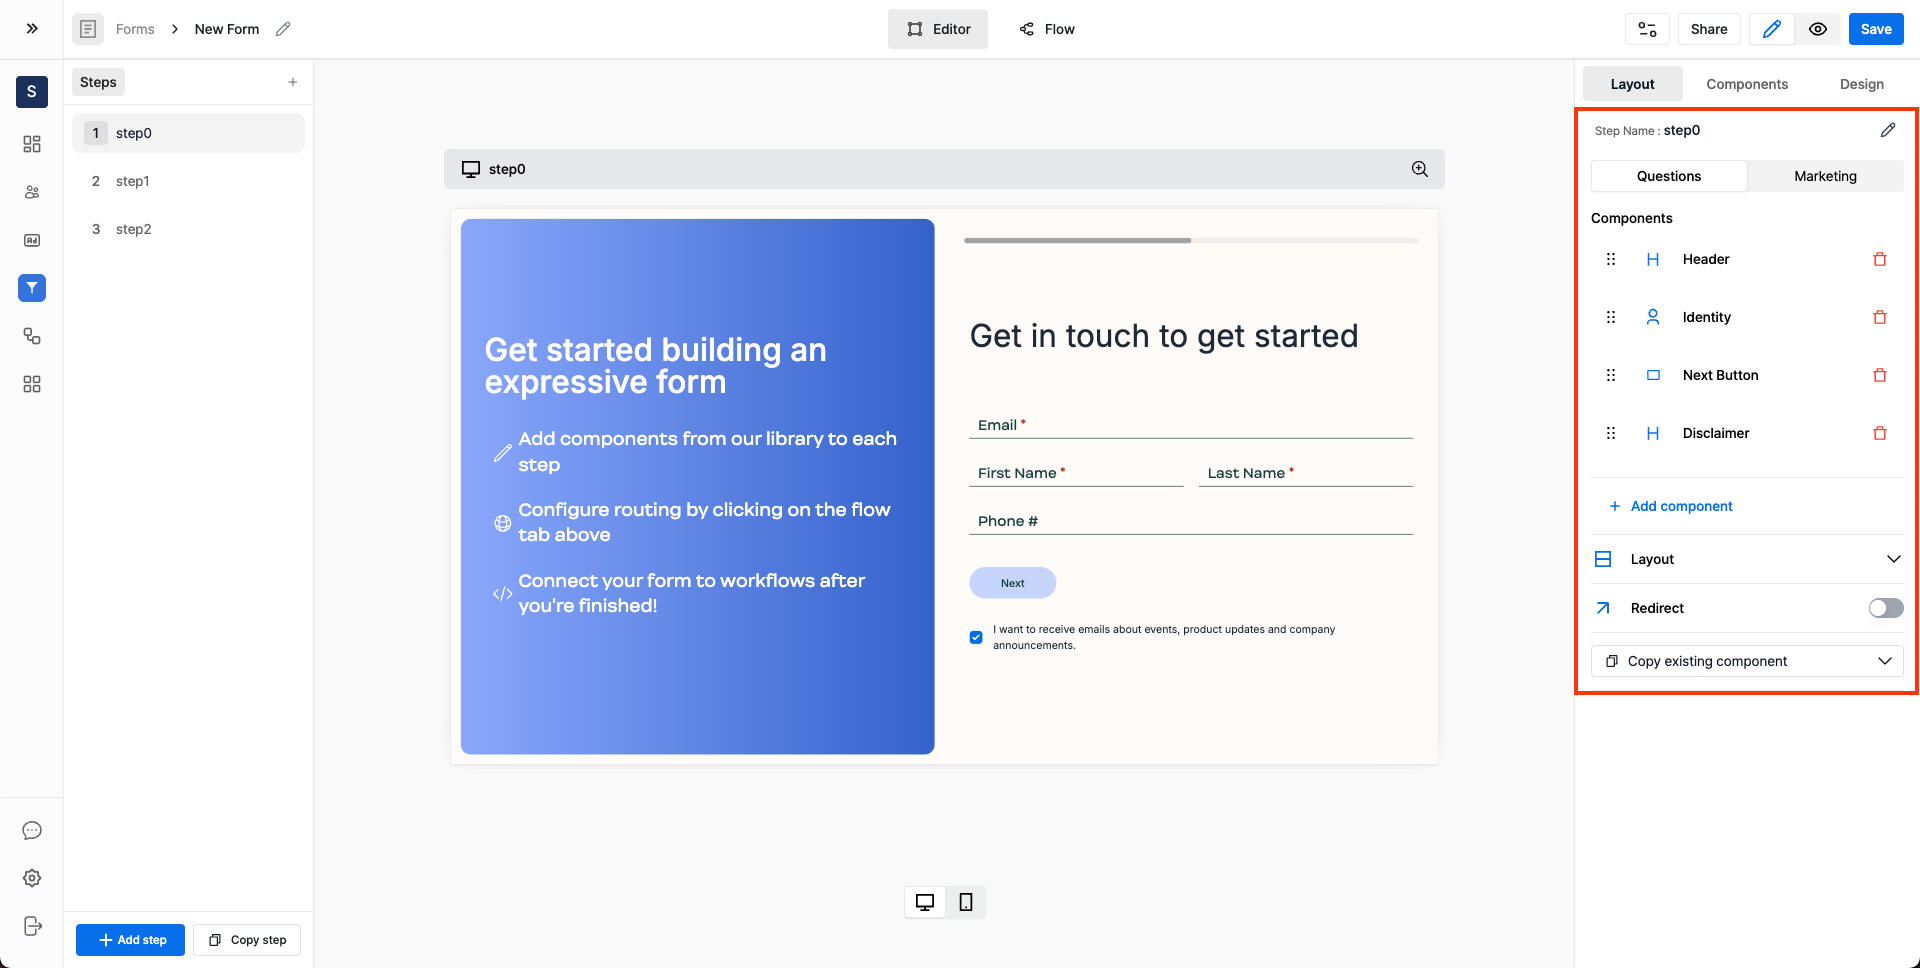
Add New Components
To add a new component, click on the + Add component button or copy an existing component from the form by clicking on the Copy existing component button.
Question Pane and Marketing Pane
Each step is divided into two tabs: Questions and Marketing.
- The
Questionstab is used to add questions such as text fields, dropdowns, multiple choice questions, etc to the form. - The
Marketingtab is for adding marketing components such as a logo, background image, etc to the form.
Customize Layout
Question Pane Layout Customization
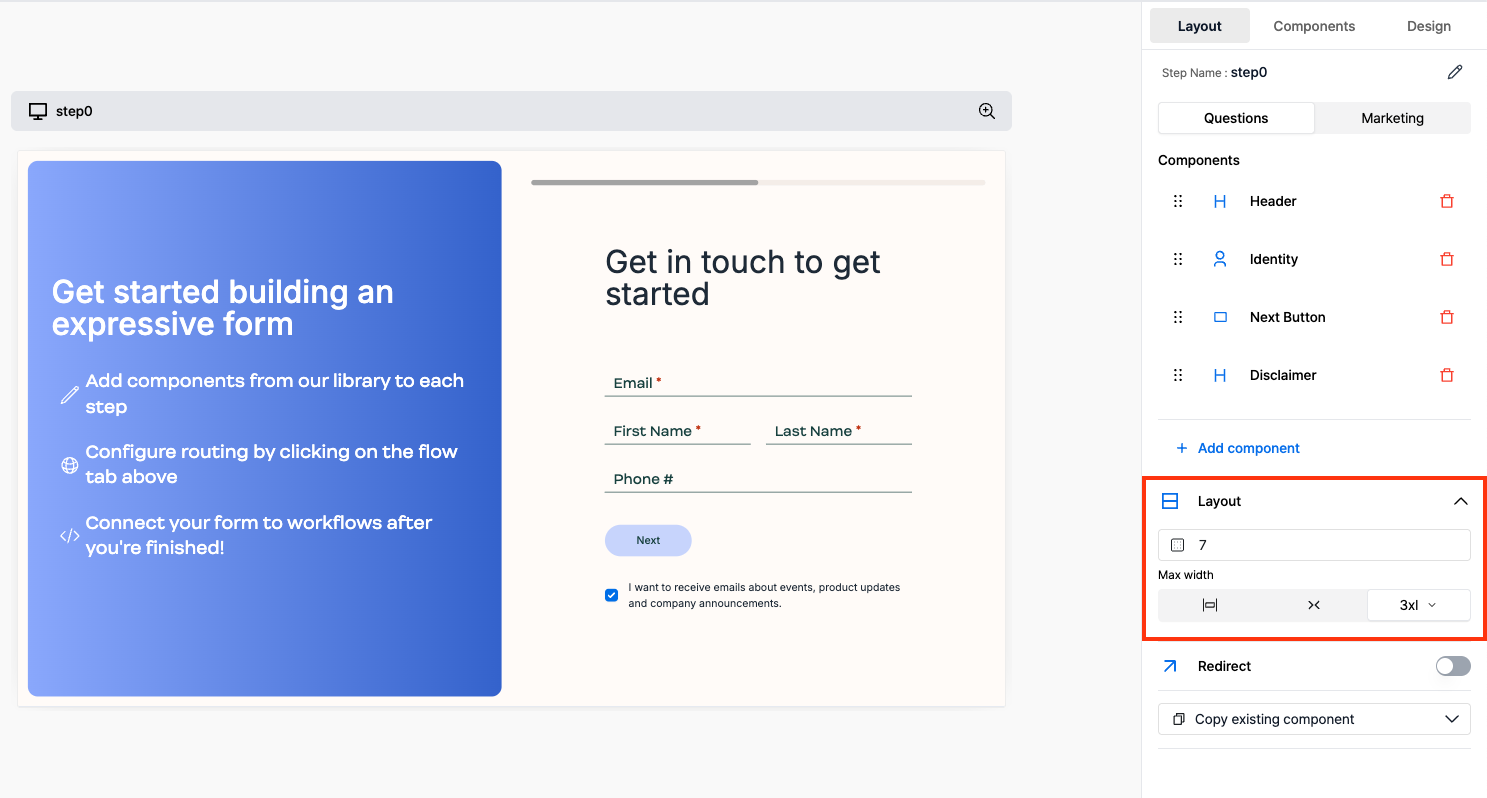
Both the Questions and Marketing panels have layout customization options. Some of the customization options include:
Horizontal PaddingMaximum Width of the Pane
Marketing Pane Layout Customization
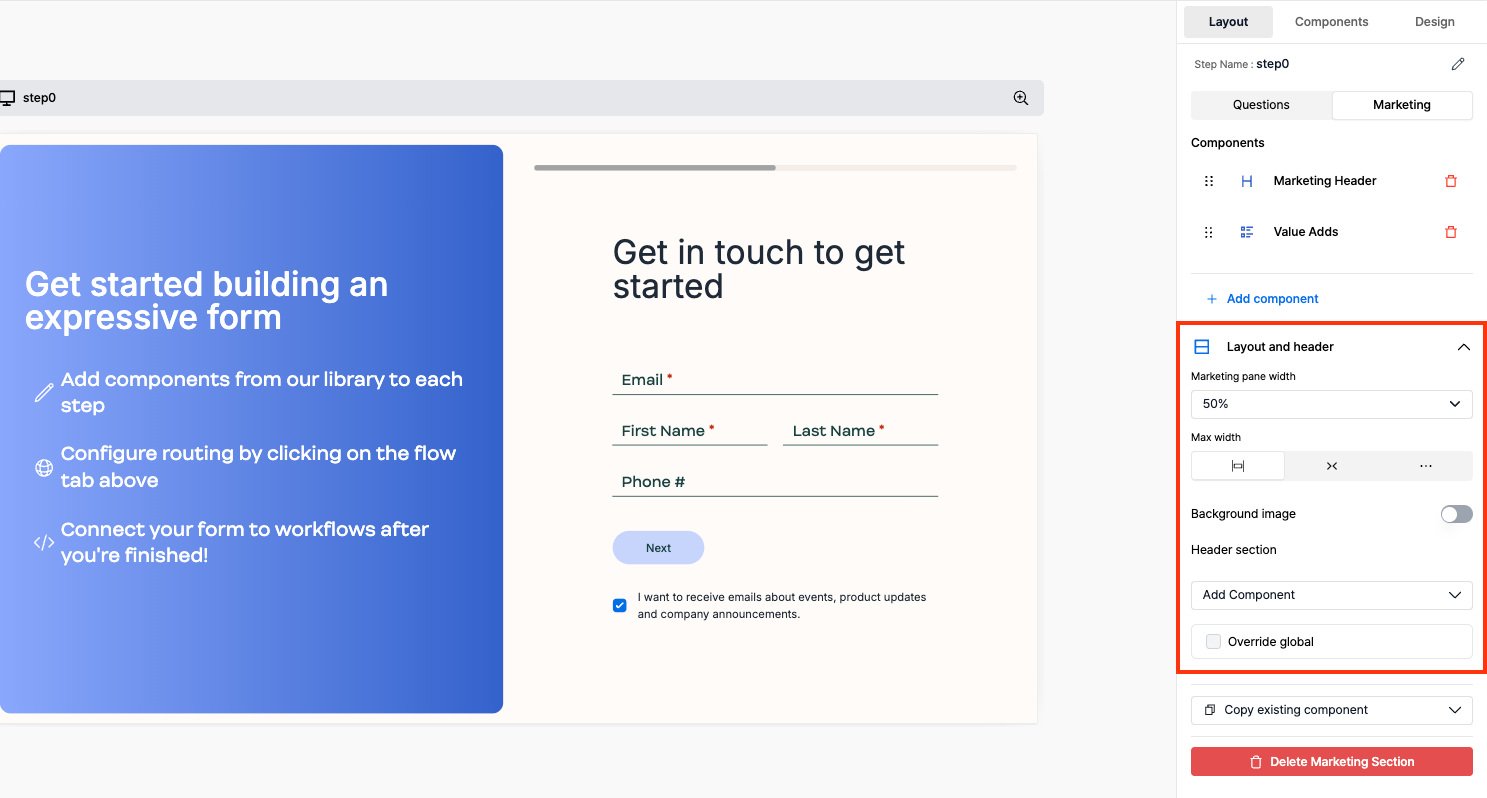
The marketing pane offers additional customization options:
- Customize the
Marketing Panewidth - Add a
Background Image - Add a
Logoin the header:- Expand the
Add Componentdropdown and select theImagecomponent to add a logo in the marketing header
- Expand the
Edit a Component
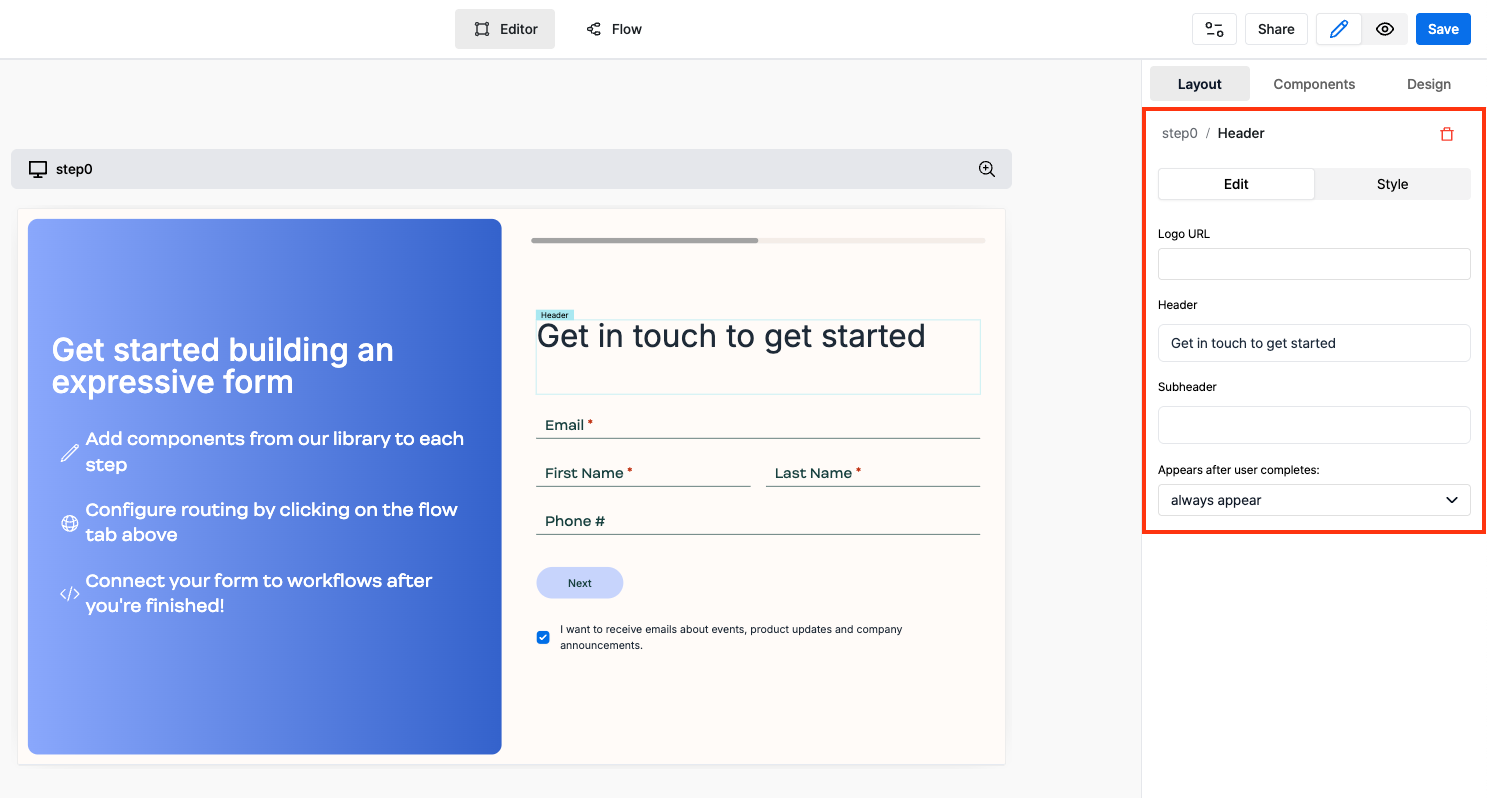
To edit a component, either click on the component directly from the form preview or click on the component from the components list in the right side panel.
Style a Component
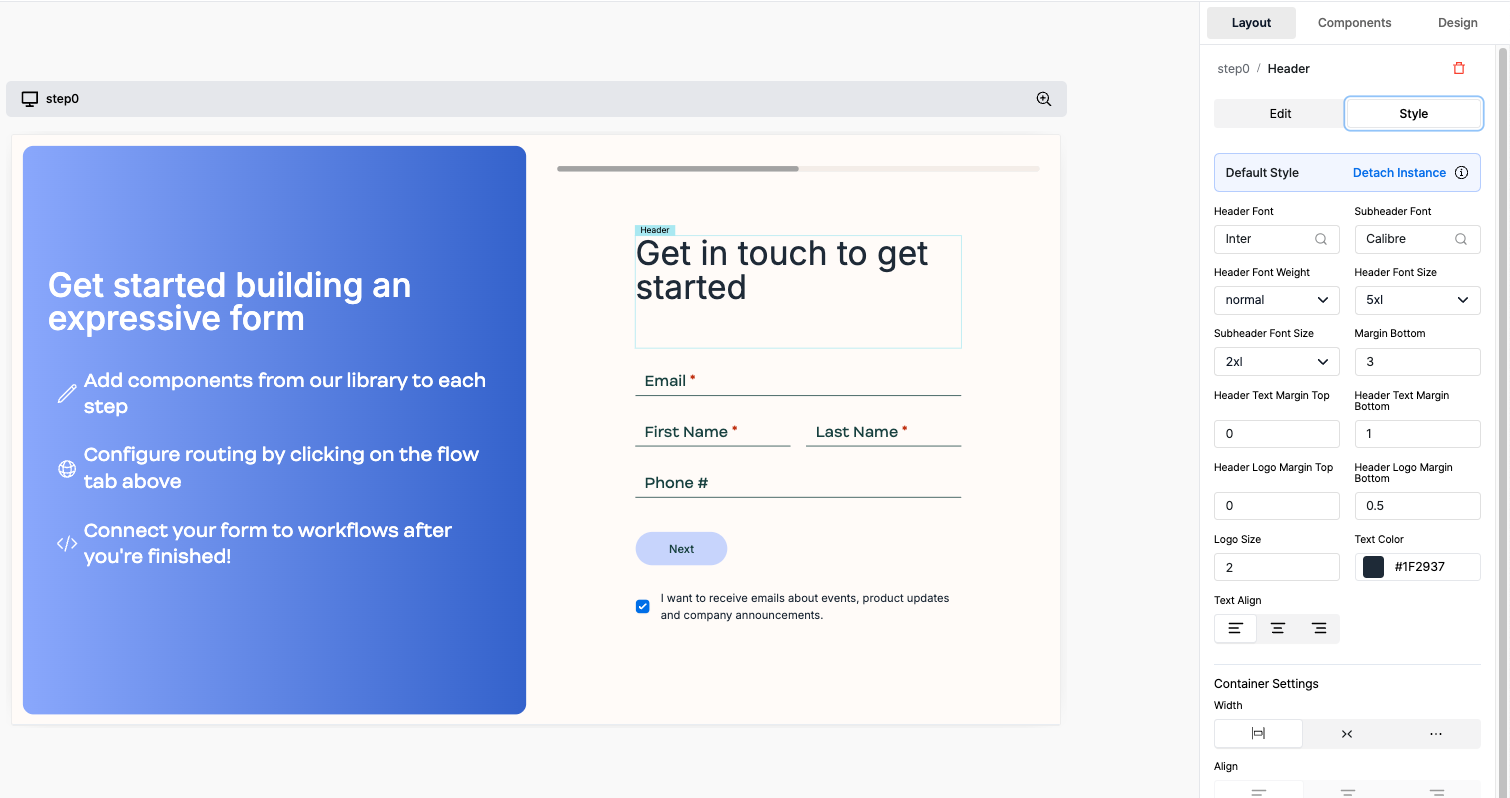
Each component has a Style panel for customization. Different components have different style options.
Some of the available style options include:
Background ColorText ColorBorder ColorBorder WidthBorder RadiusBox Shadow
Advanced Features
Customize Marketing Pane globally
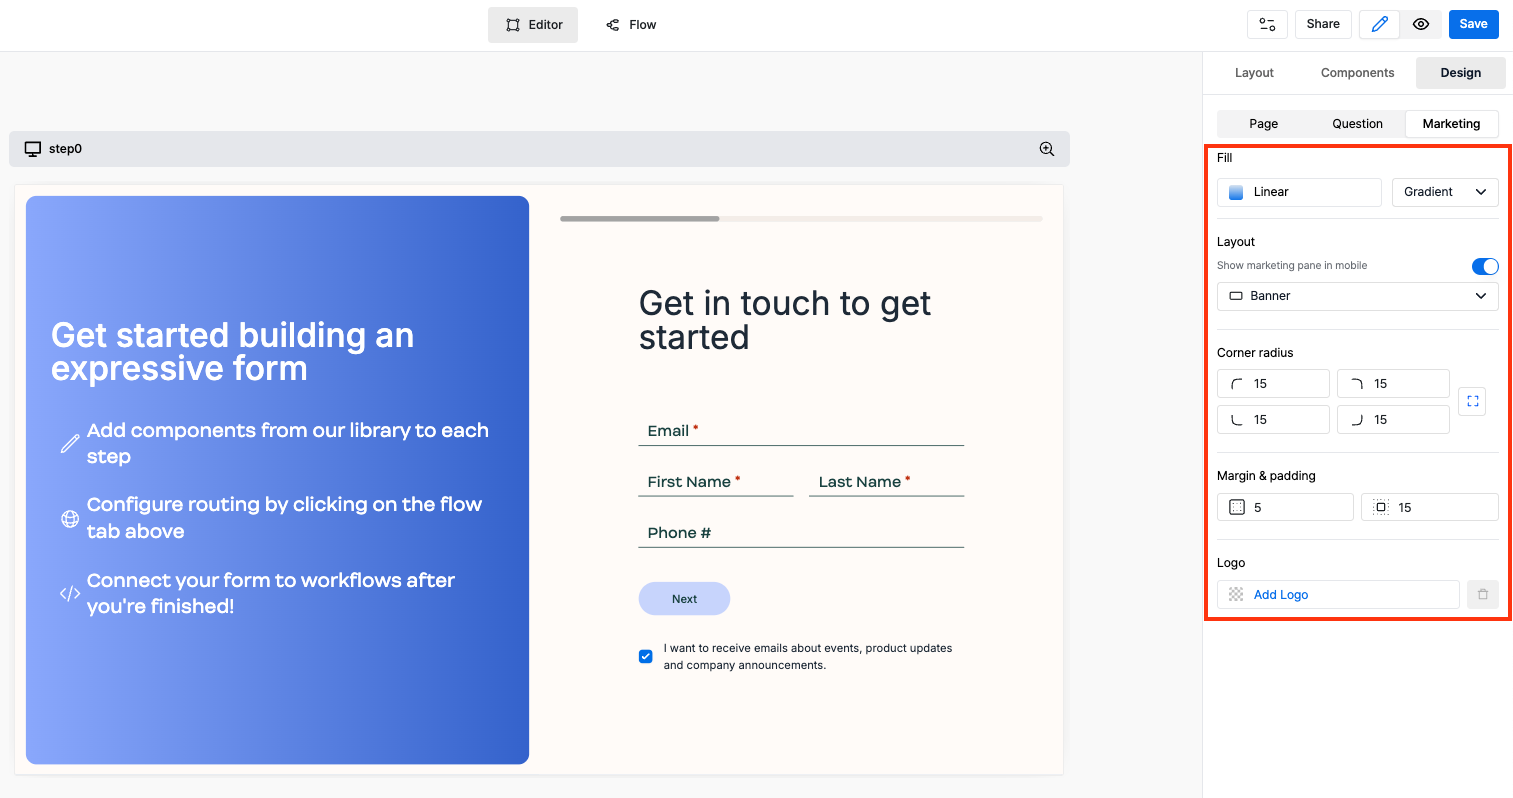
To customize the marketing pane globally, go to the Marketing under Design section.
Some of the customization options include:
Fill: Choose from a range of options like gradient, solid color, image, etc for the background of the marketing pane.Corner Radius: Control the corner radius of the marketing pane.Logo: Add a logo to the marketing pane.
Delete Marketing Pane for a particular step
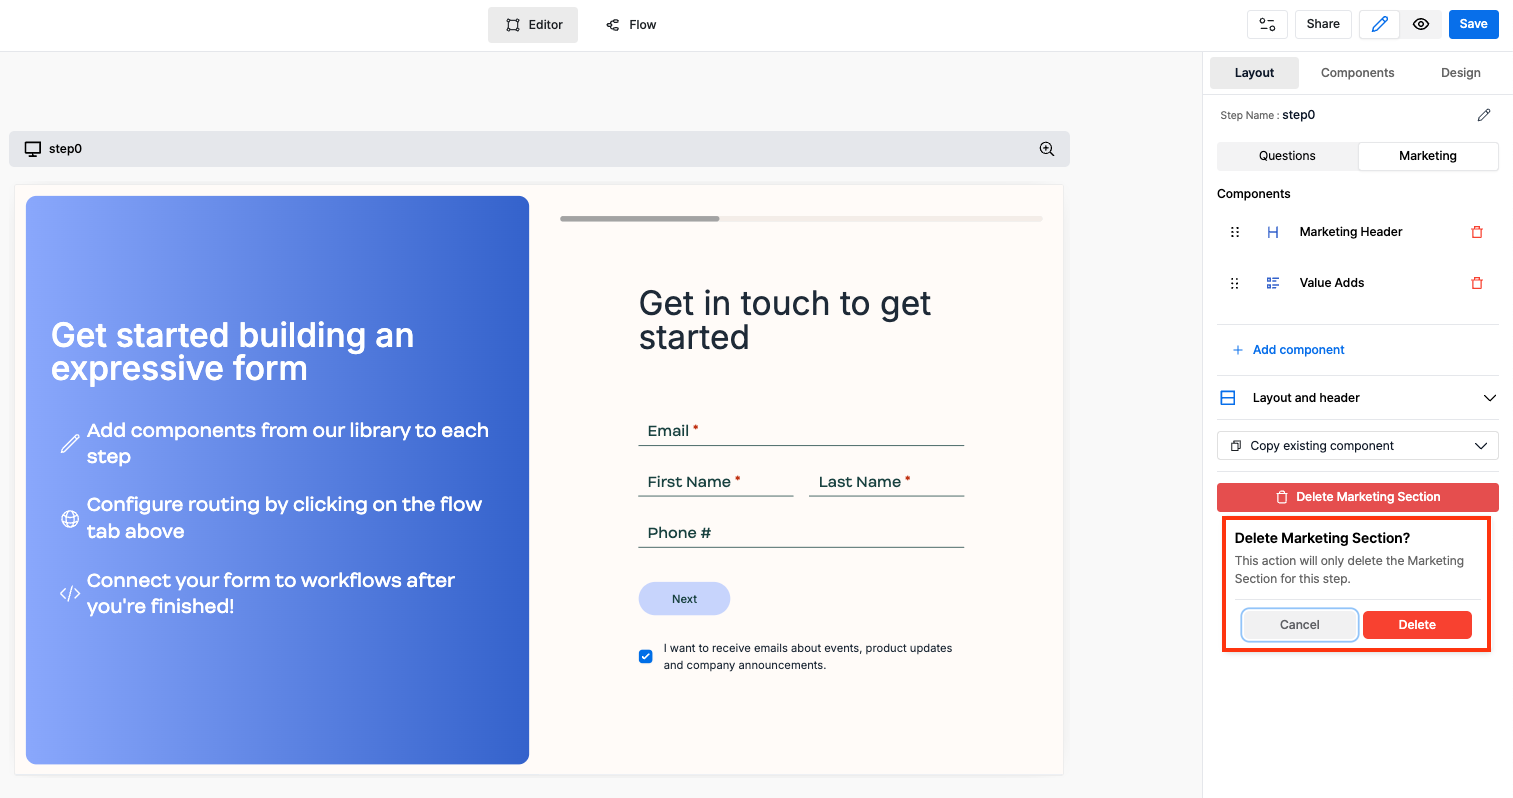
To delete the marketing pane for a particular step, go to the Marketing under Layout section and click on the Delete Marketing Section button.
5. Save and Share
Change the form name in the navigation bar and save the form by clicking on the Save button.
Share the form using the Share button in the navigation bar.
- You can share the form using the
Share LinkorEmbed Codeto embed the form on your website.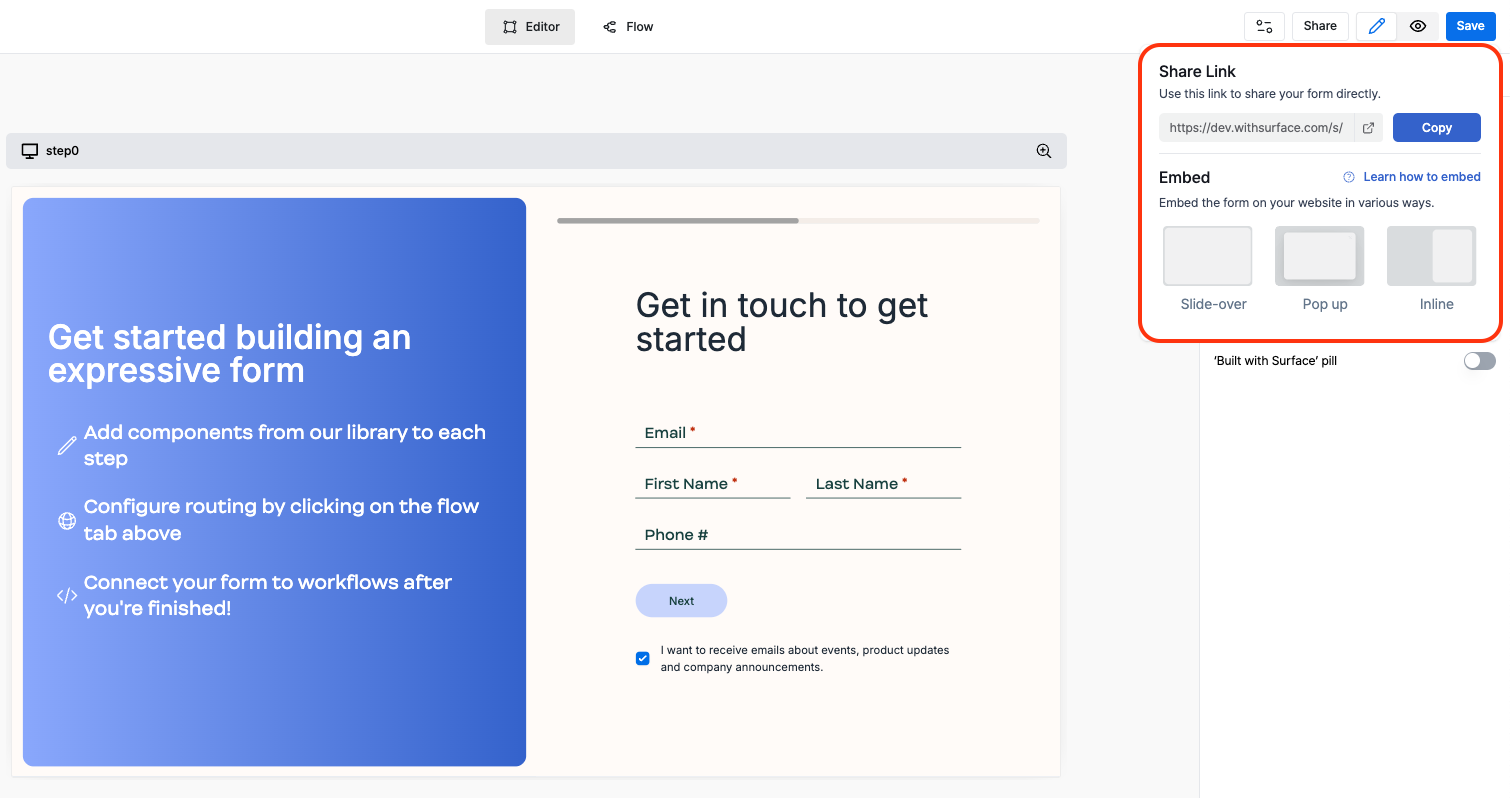
Read more about how to embed a Surface Form on your site.