
Send Data to Surface using Webhooks
Learn how to send data to Surface using webhooks
This guide will walk you through the process of sending data to Surface using webhooks. We'll specifically demonstrate this using Framer Forms as an example.
Step 1: Configure Webhooks in Surface
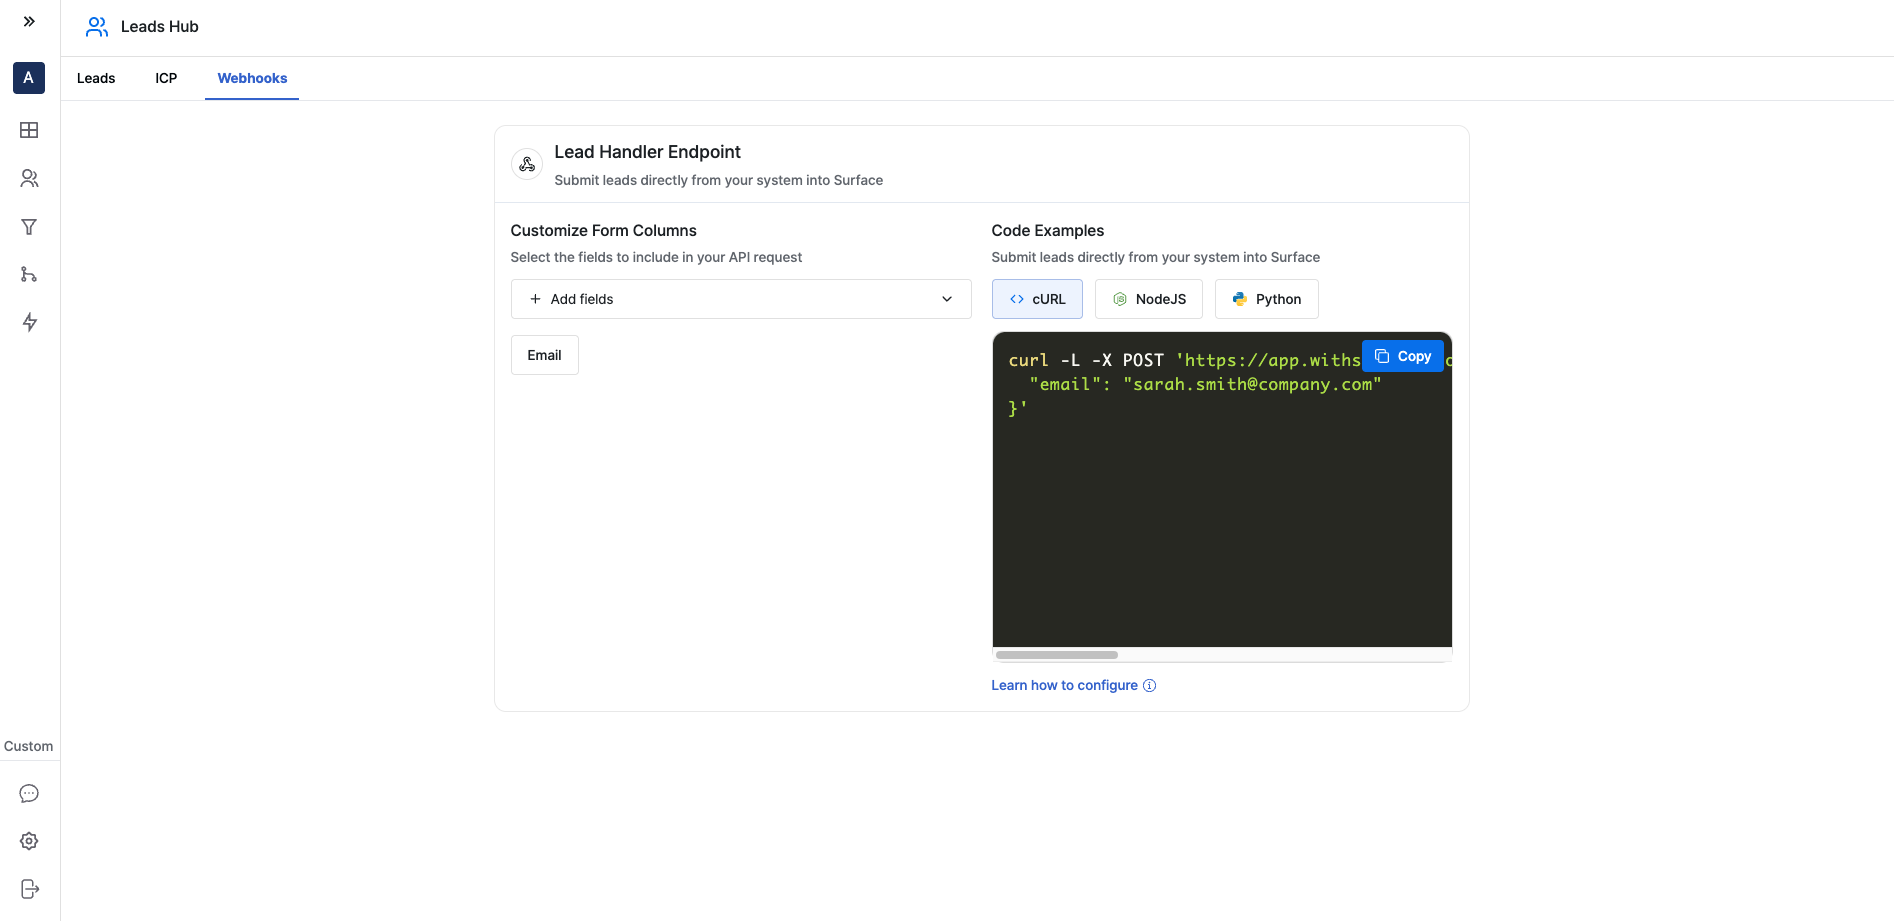
- Log in to your Surface account
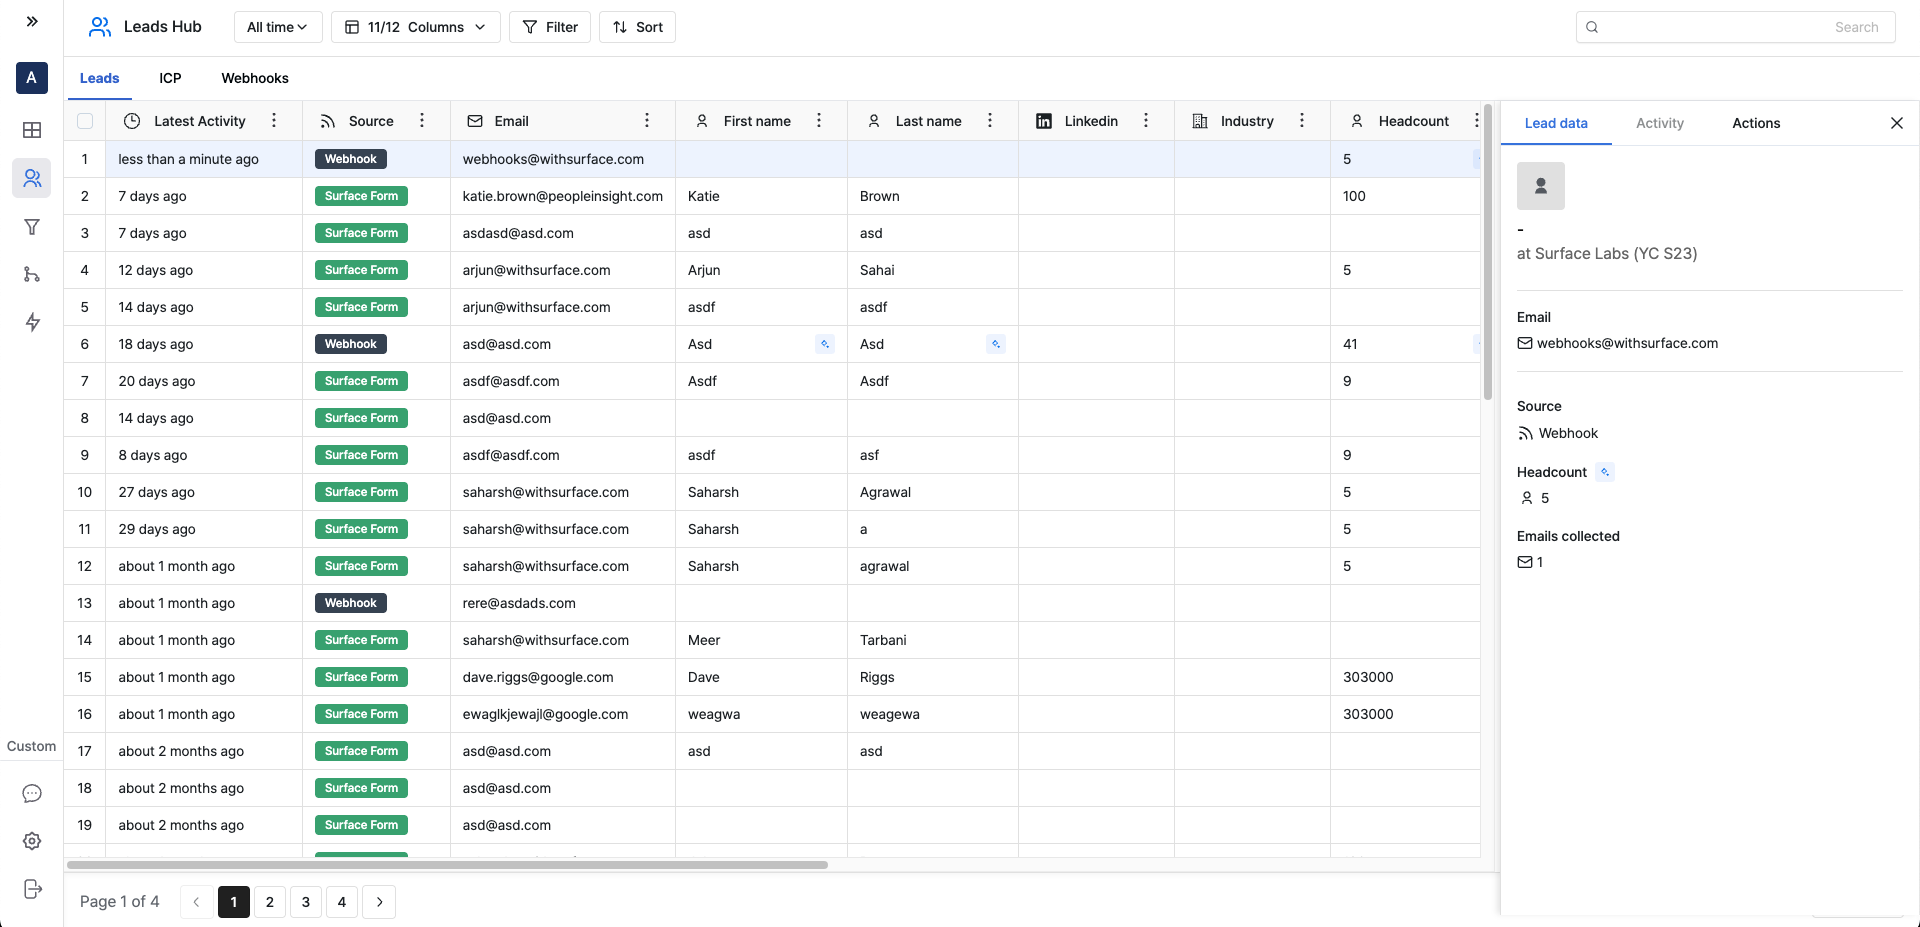
- Navigate to Leads Hub from the side navigation bar
- Click on the "Webhooks" tab
Configure Fields

Click on + Add fields and select the fields you want to receive from webhooks from the dropdown.
Copy Webhook URL
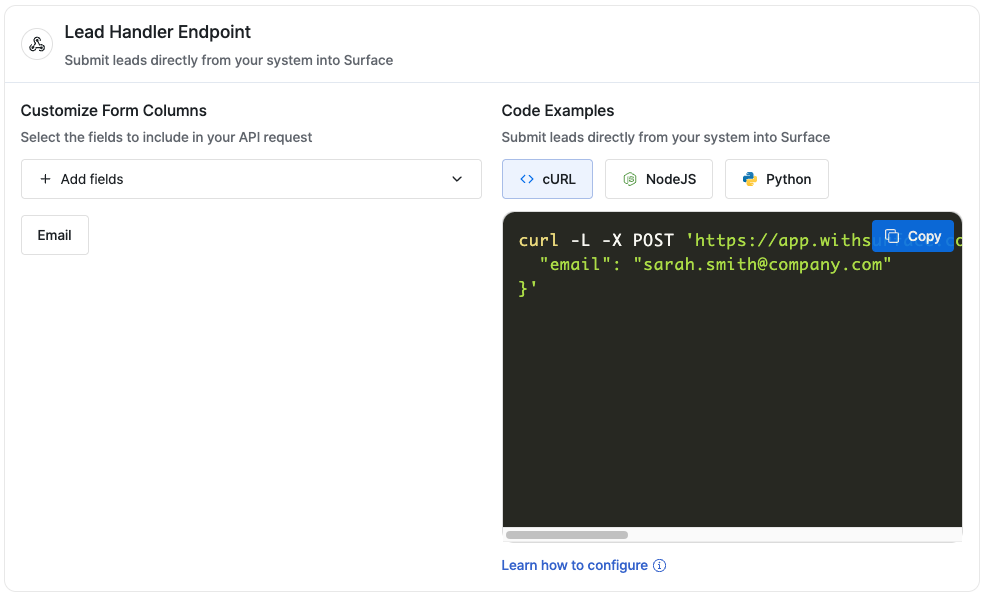
Copy the webhook URL provided in the snippets section (available for CURL, NodeJS, and Python).
Step 2: Set Up Framer Form

- Open your Framer project
- Add a Form Component from the Component Selector
Configure Form Component
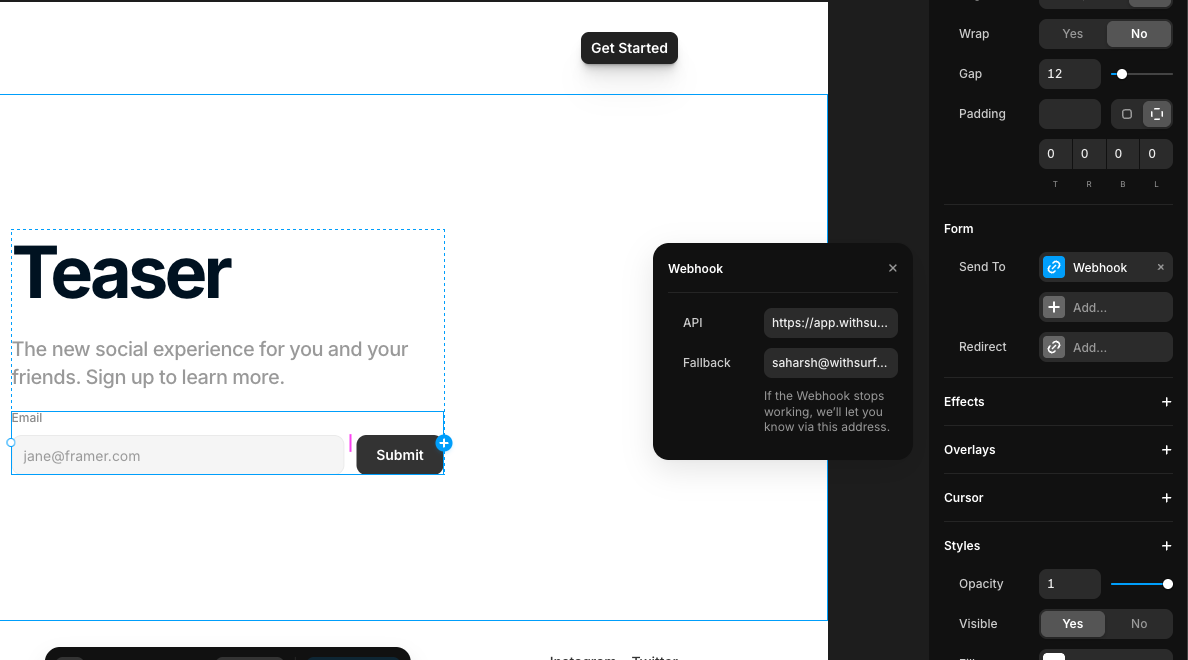
Select the Form Component and go to the right-side config sidebar, under the "Form" section:
- Select "Webhook" as the Send To option
- Paste the webhook URL you copied from Surface
Configure Form Fields
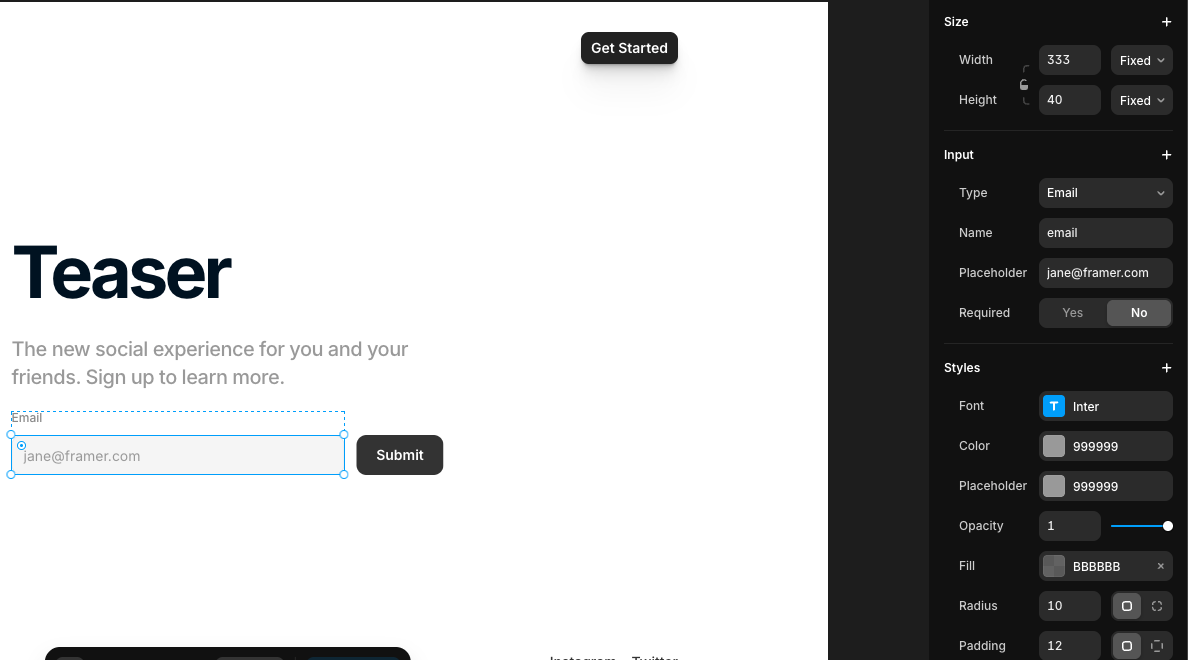
- Select each input field in your form
- In the config sidebar for each field:
- Set the appropriate Type (text, email, phone, etc.)
- The
Namefield should match the fields you configured in Surface
Step 3: Test and Verify
- Publish your website
- Test the form by submitting sample data
- Check your Surface Leads Hub to verify that:
- The data is received correctly
- The lead information is properly enriched
Troubleshooting
If you're not seeing the data in Surface Leads Hub:
- Verify the webhook URL is correct
- Check that the field names in your form match the configured fields in Surface
- Check the network tab in your browser's developer tools for any errors when submitting the form