Schedulers
RevenueHero Scheduler Integration Guide
This guide will help you integrate RevenueHero Scheduler with Surface Forms
The RevenueHero Scheduler will only be visible in published forms.
Setting up the RevenueHero Scheduler
- Navigate to the Surface App and go to the Forms section
- Select the form you want to add the scheduler to and click Edit
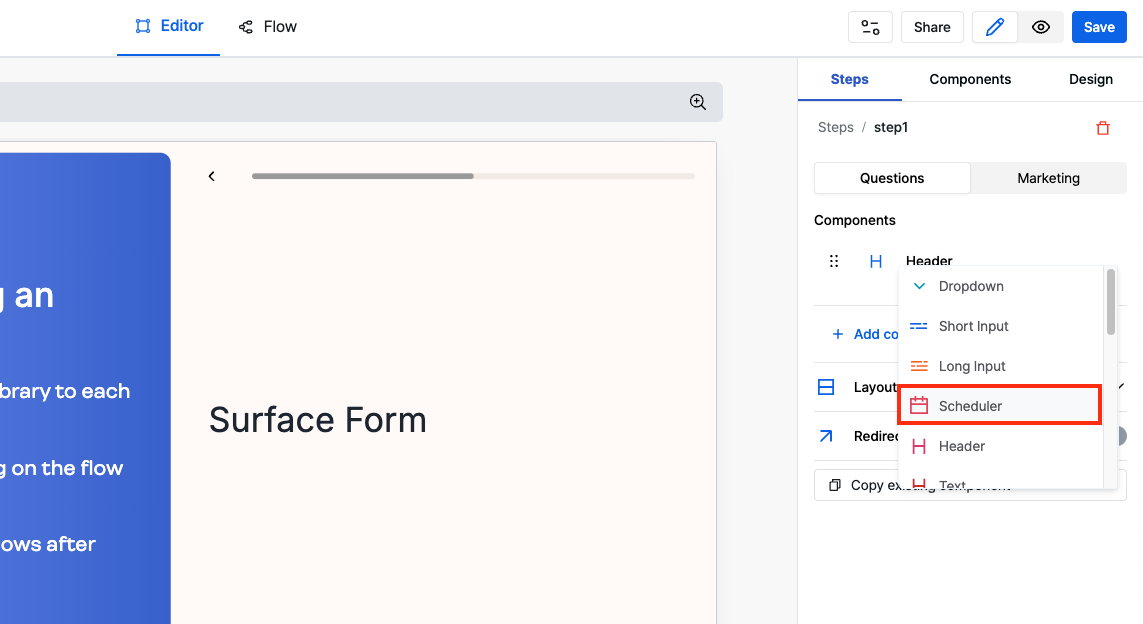
- Enable edit mode and select the step where you want to add the scheduler
- Add a Scheduler component to the step
- Select RevenueHero as your scheduler type
Create a New Form and Router in RevenueHero
Create a New Form
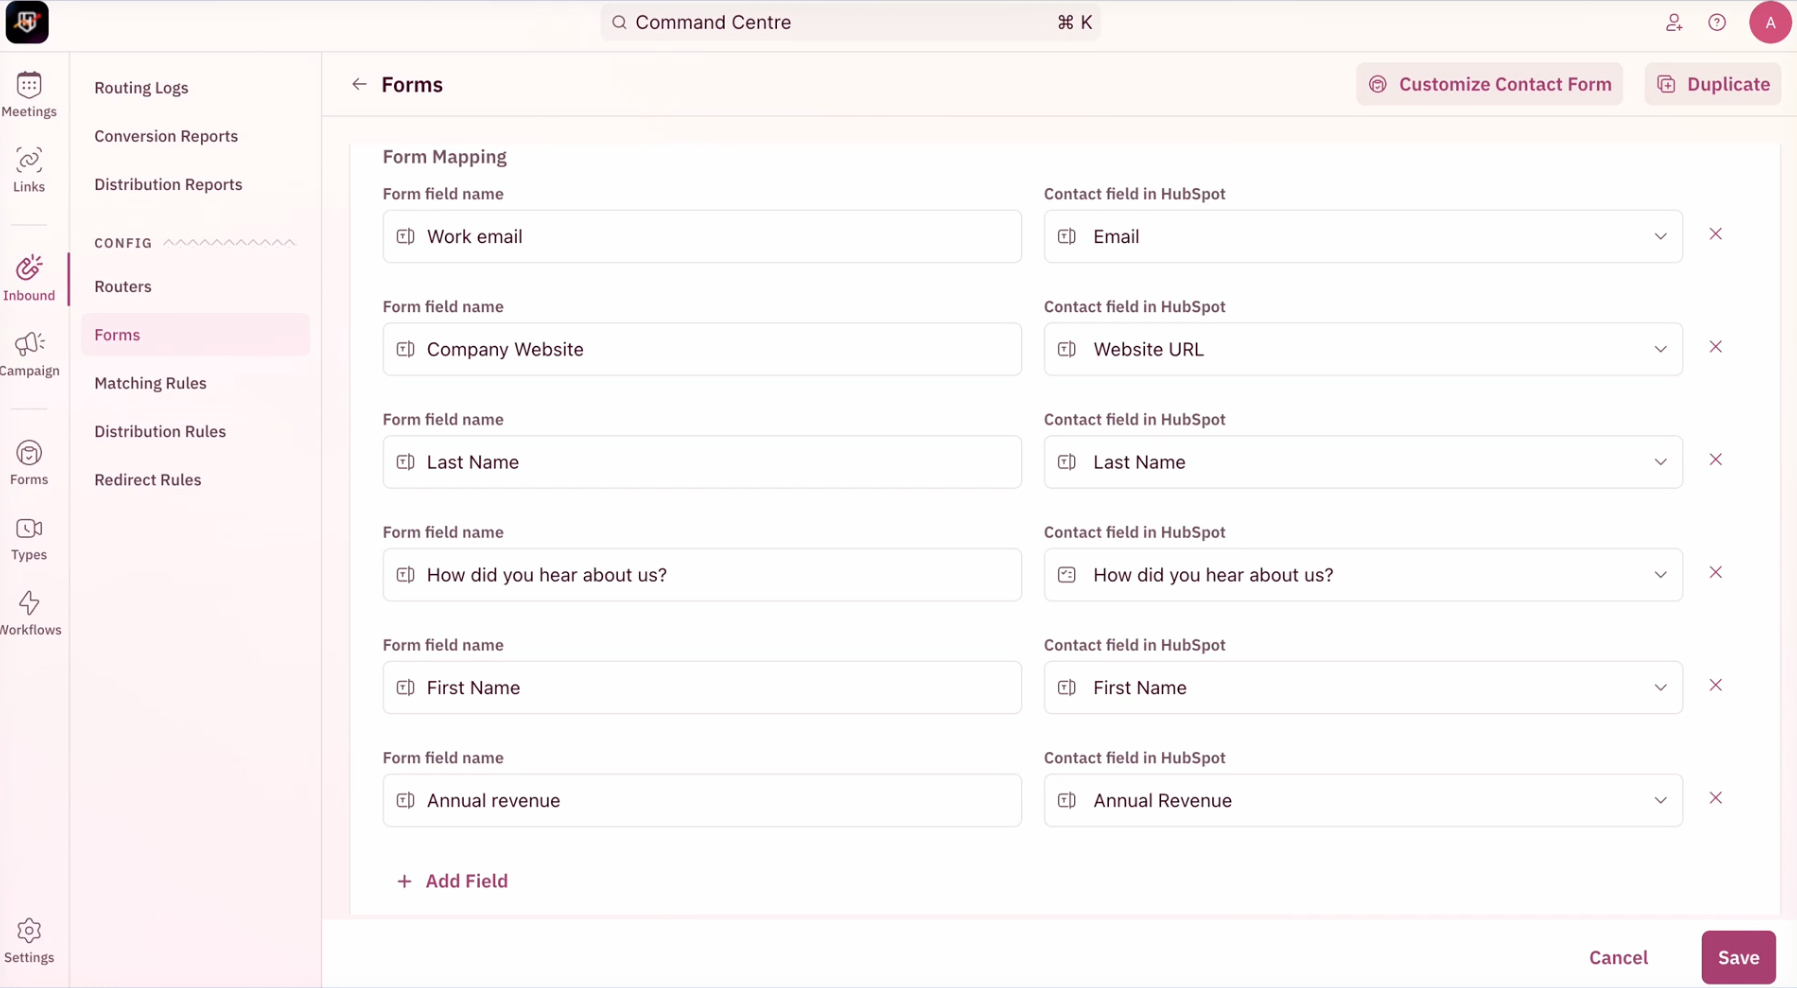
- Navigate to
Inbound>Formstab and create a new RevenueHero form. - Ensure that you add all the required fields for your form.
Create a New Router
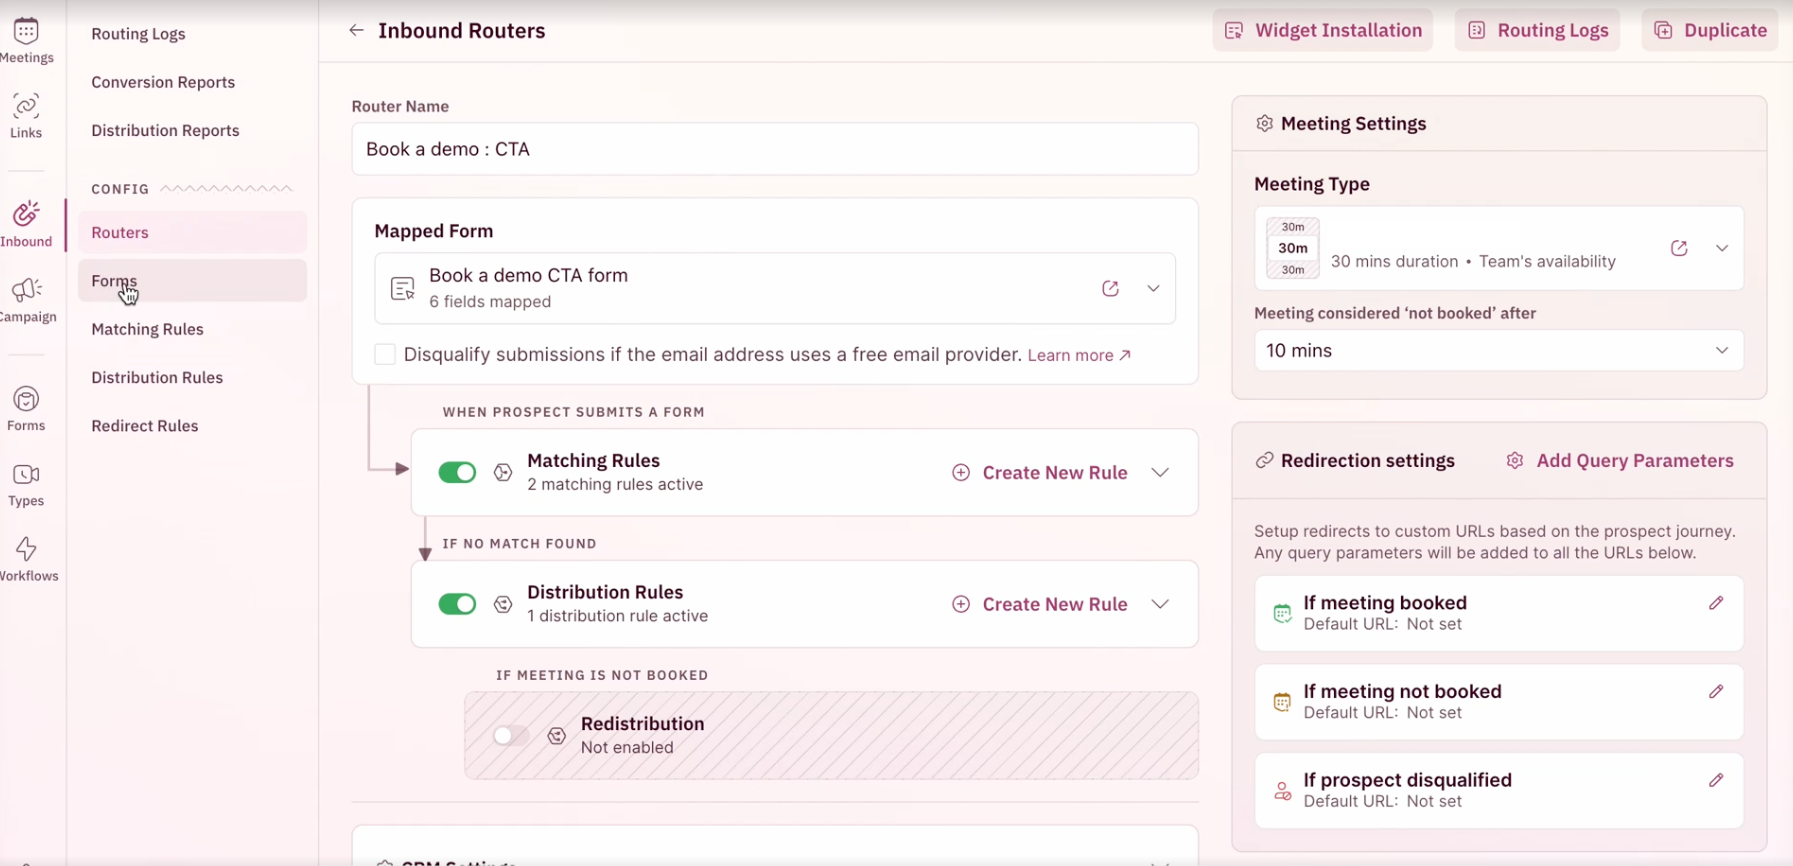
- Navigate to
Inbound>Routestab and create a new RevenueHero router.
Retrieve the Router ID
Once you have created the router, you can obtain the router ID in the following ways:- Navigate to the
Routerstab and copy the ID from the URL. - Navigate to the
Routerstab, click onWidget Installationin the navigation menu, and retrieve the Router ID from the code snippet.
The Router ID is the value of the
routerId variable in the code snippet.Configure the Scheduler Component

- Enter the Router ID from RevenueHero into the
RevenueHero Router IDfield. - Map the form fields accordingly.
Advanced Features
Autoscroll to next step
Surface Form automatically autoscroll to next step when a meeting has been scheduled. It also allows you to:- Monitor scheduling status
- Create conditional workflows based on scheduling completion
- Track user engagement with the scheduling component