Schedulers
Calendly Scheduler Integration Guide
This guide will help you integrate Calendly Scheduler with Surface Forms
Setting up the Calendly Scheduler
- Navigate to the Surface App and go to the Forms section
- Select the form you want to add the scheduler to and click Edit
- Enable edit mode and select the step where you want to add the scheduler
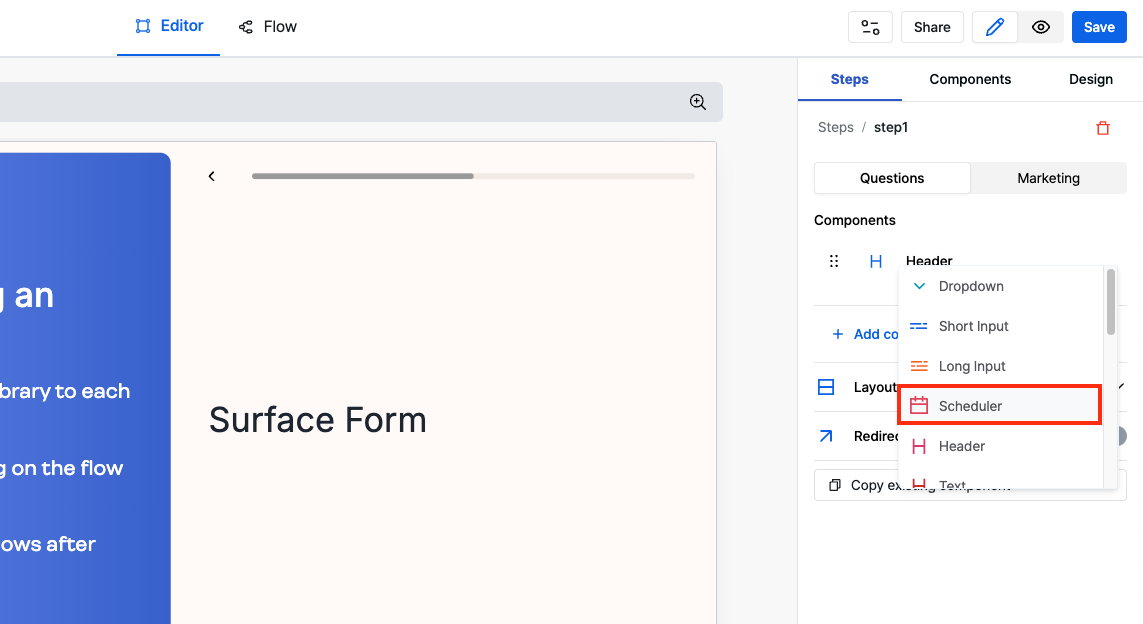
- Add a Scheduler component to the step
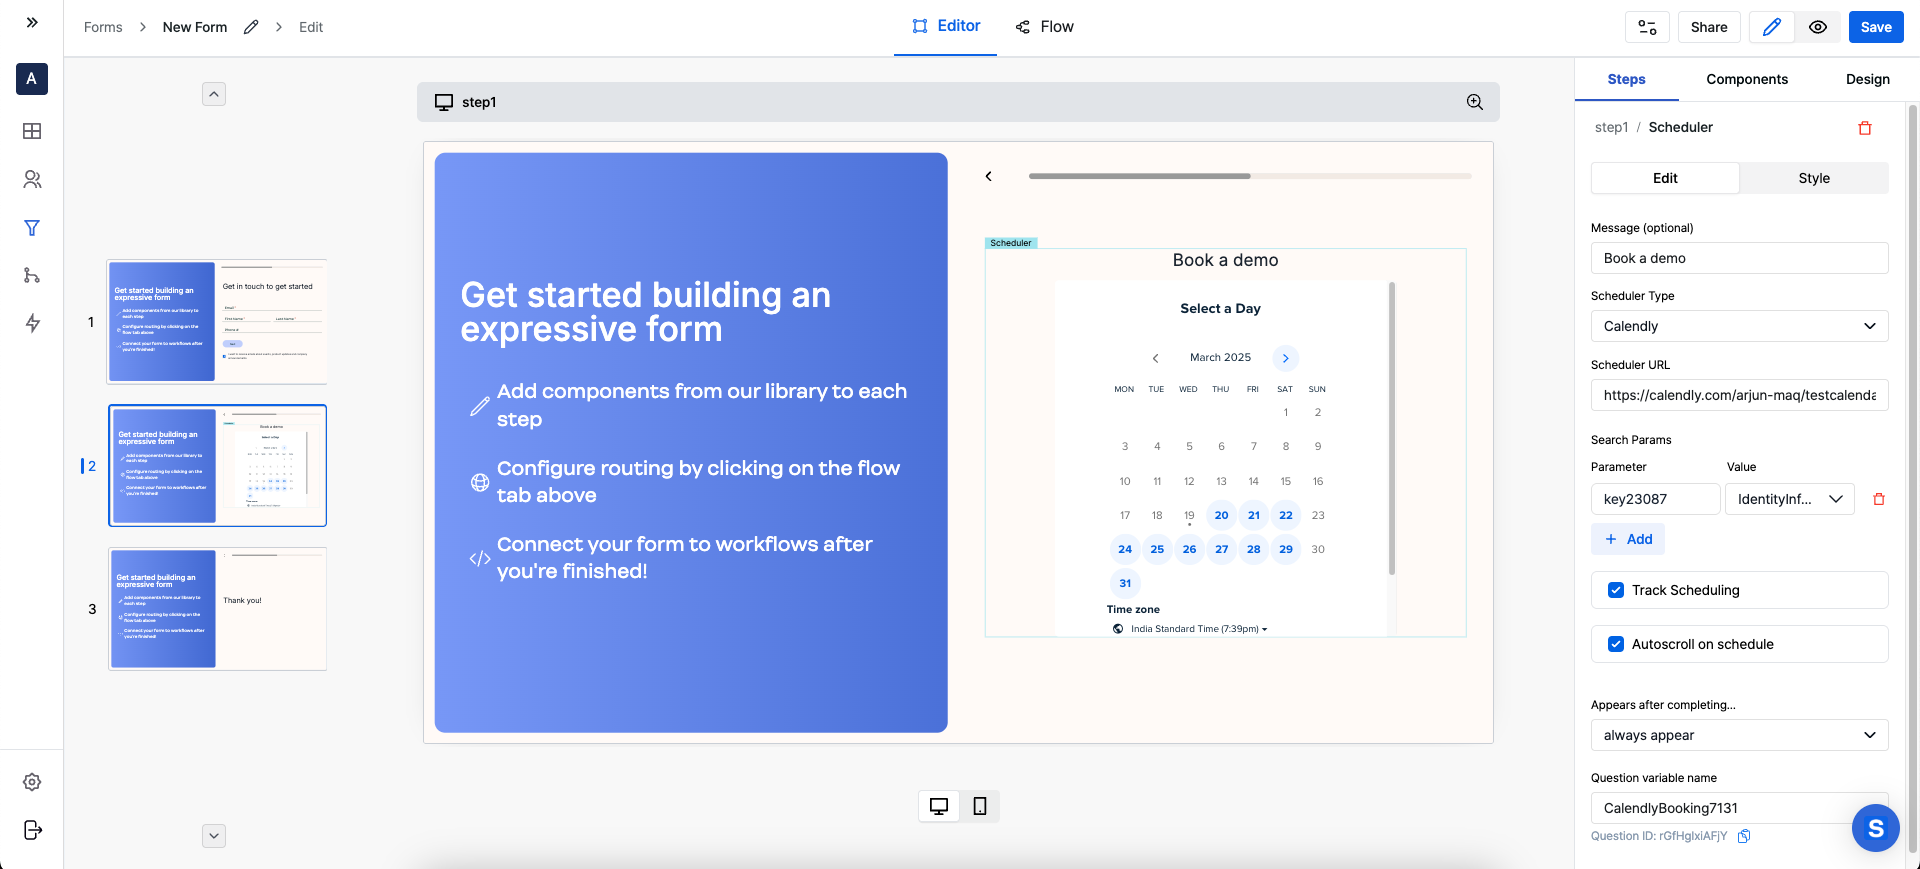
- Select Calendly as your scheduler type
- Add your Calendly link to the configuration under Scheduler URL
Configuration
Basic Setup
- Add your Calendly link to the configuration
- Customize query parameters as needed for your use case
Advanced Features
Using Form Field Data in Search Parameters
You can pass form field data to Calendly by adding them as search parameters in the scheduler URL. The field names can be found by:- Checking the platform’s documentation
- Inspecting the HTML element to find the field name
embed_type=Inline: Specifies the embedding type for the Calendly widgethide_event_type_details=1: Hides the event type details for a cleaner interfacehide_gdpr_banner=1: Removes the GDPR consent banner
Autoscroll to next step
Surface Form automatically autoscroll to next step when a meeting has been scheduled. It also allows you to:- Monitor scheduling status
- Create conditional workflows based on scheduling completion
- Track user engagement with the scheduling component