Installation
Webflow
Add a Surface Form to your Webflow Site
This feature requires being on a paid Webflow site plan.
Before proceeding, make sure you have installed the Surface Tag on your website. Follow these steps to install the Surface Tag first:
1
Go to the webflow dashboard.
2
Go to
Project Section > Custom Code.3
Add the following code in the Start of The 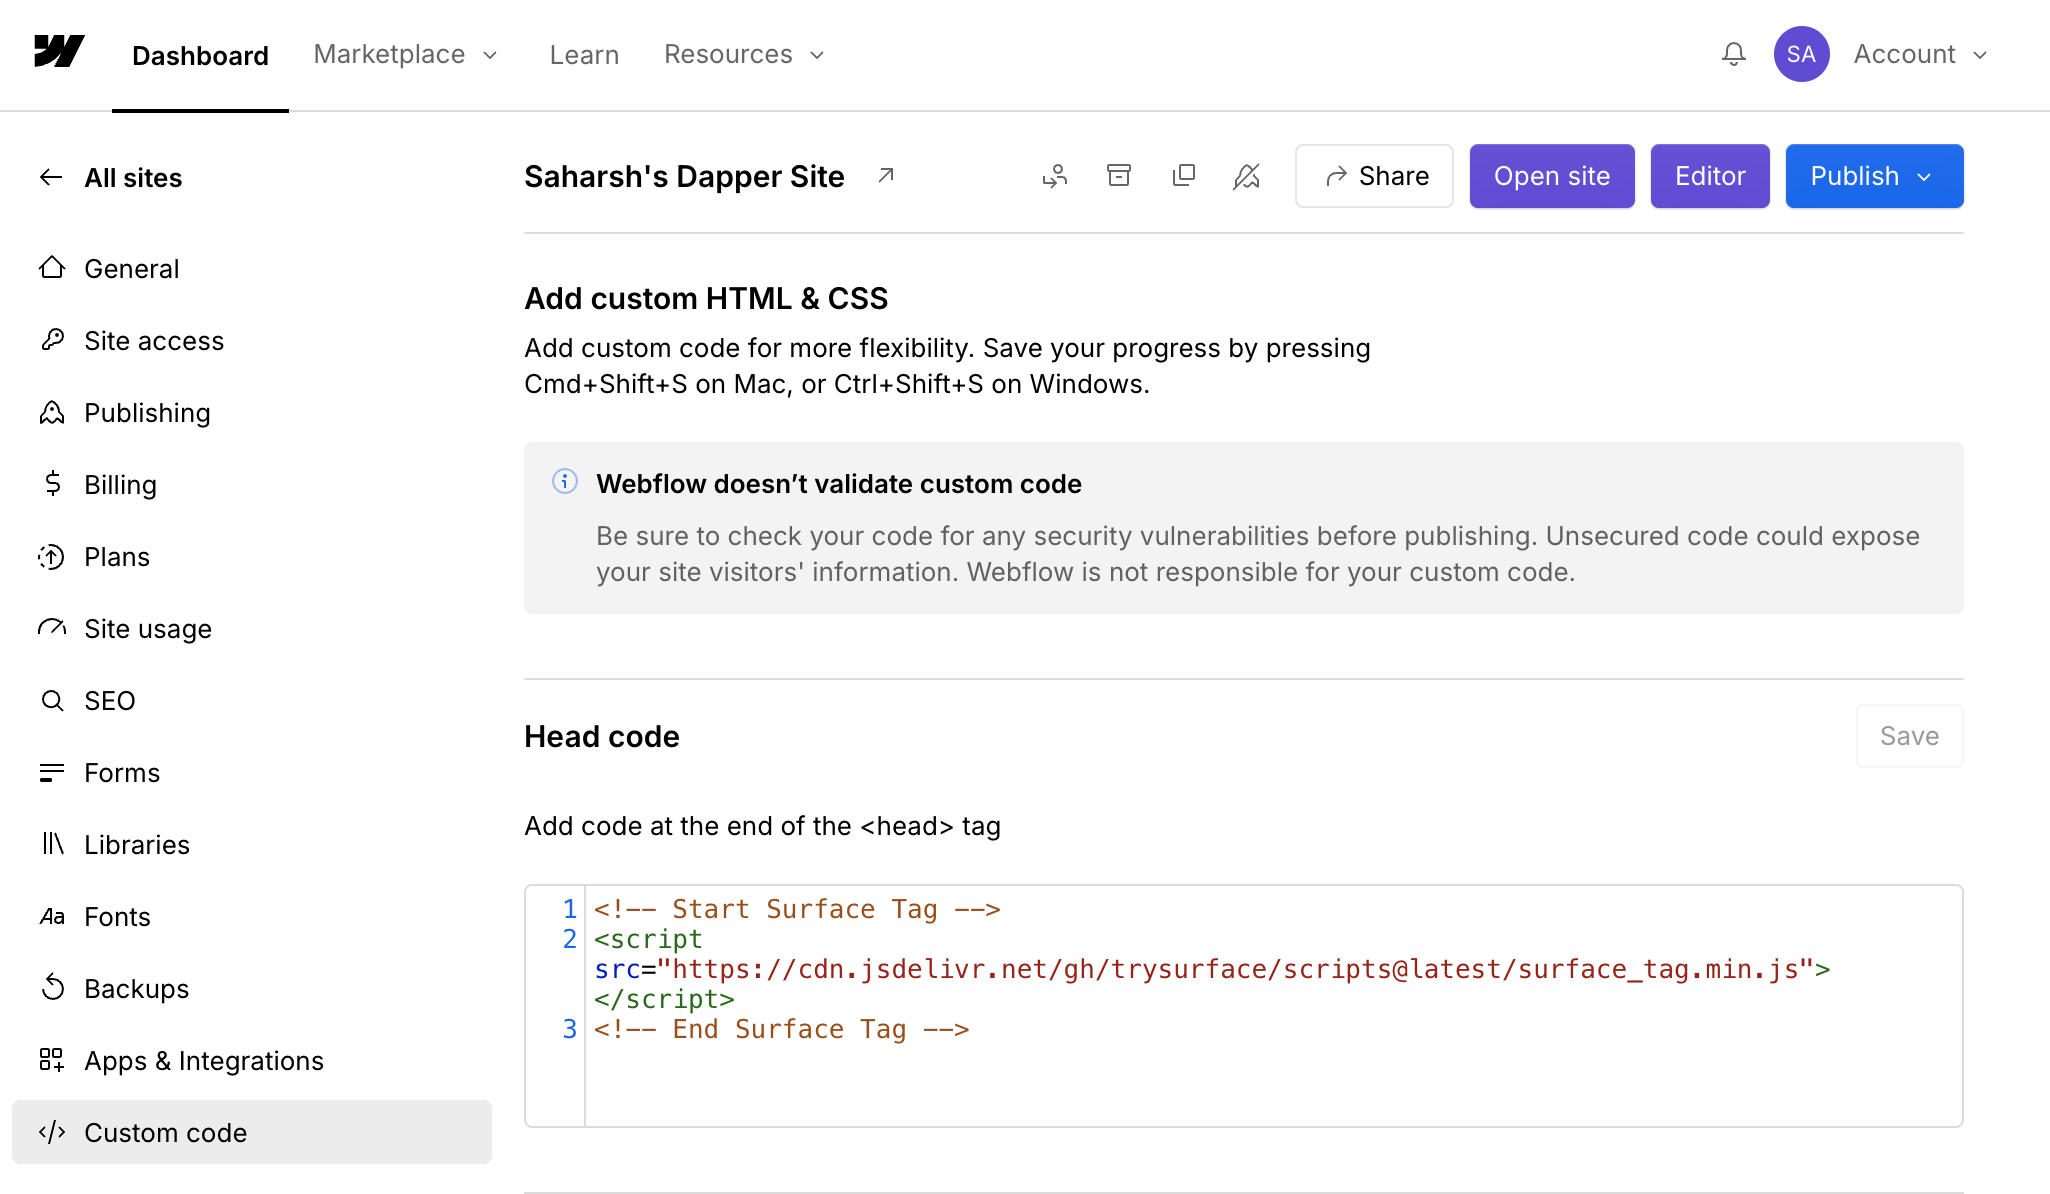
<head> tag section.Check out the How to Get Site ID page to get your site ID.
head section containing the Surface Tag should now look like this:Embedding a Surface Form in your Webflow Site
There are three different ways to embed a Surface Form.- To embed an inline form, first go to the Webflow dashboard >
Project Section> SelectCustom Codeand add the following custom code into thefootercode section.
-
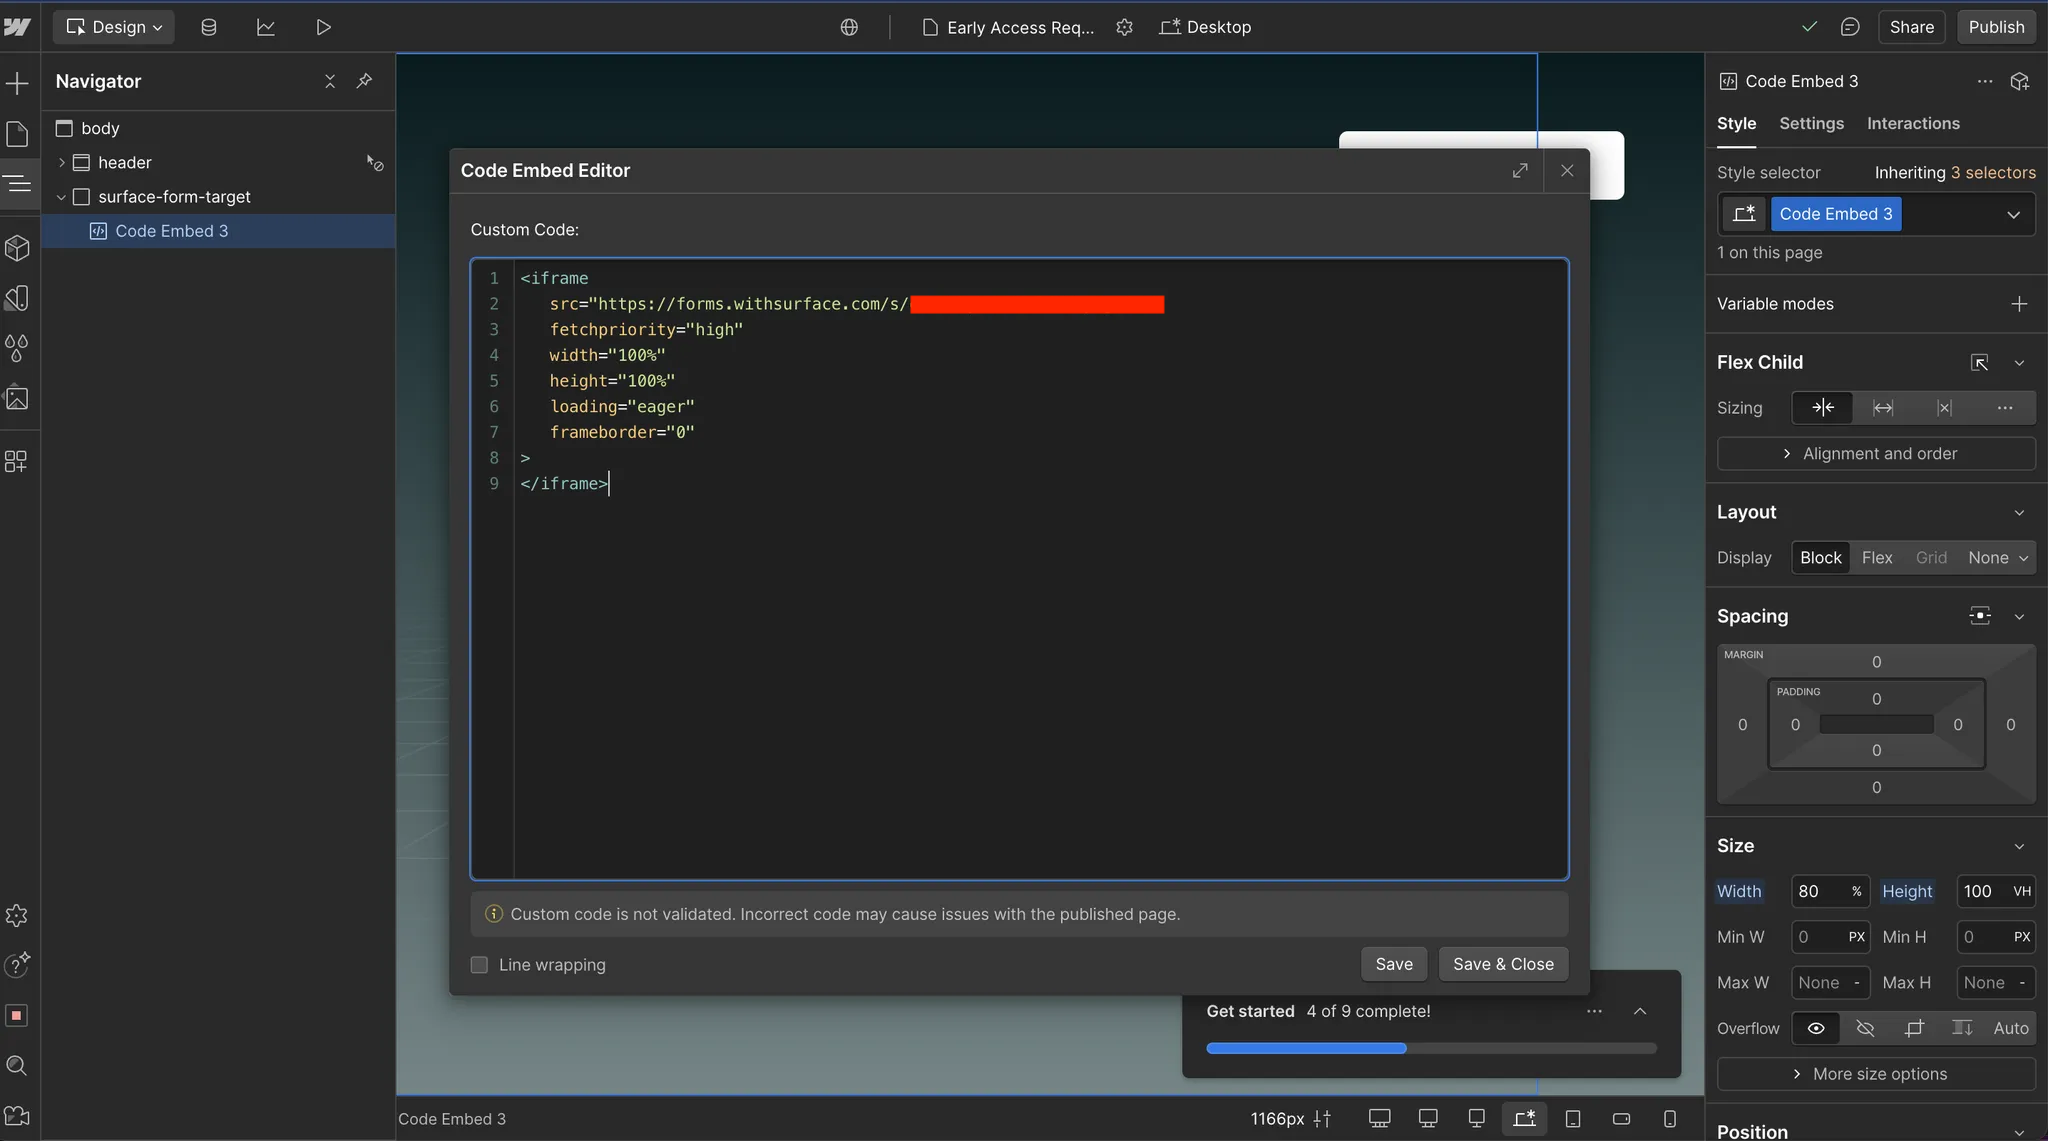
Add a div on the page with height
100vhand width100%(so that it takes up the entire page) - Add the Code Embed block (only on paid plans) in Webflow within the above div and add the Surface iFrame code in the block.
- Optional (but recommended!)
- To make the form loading speeds as fast as possible, we can pre-fetch the Surface Form script on the website home page.
- Add the following in the settings of the
homepage of your site
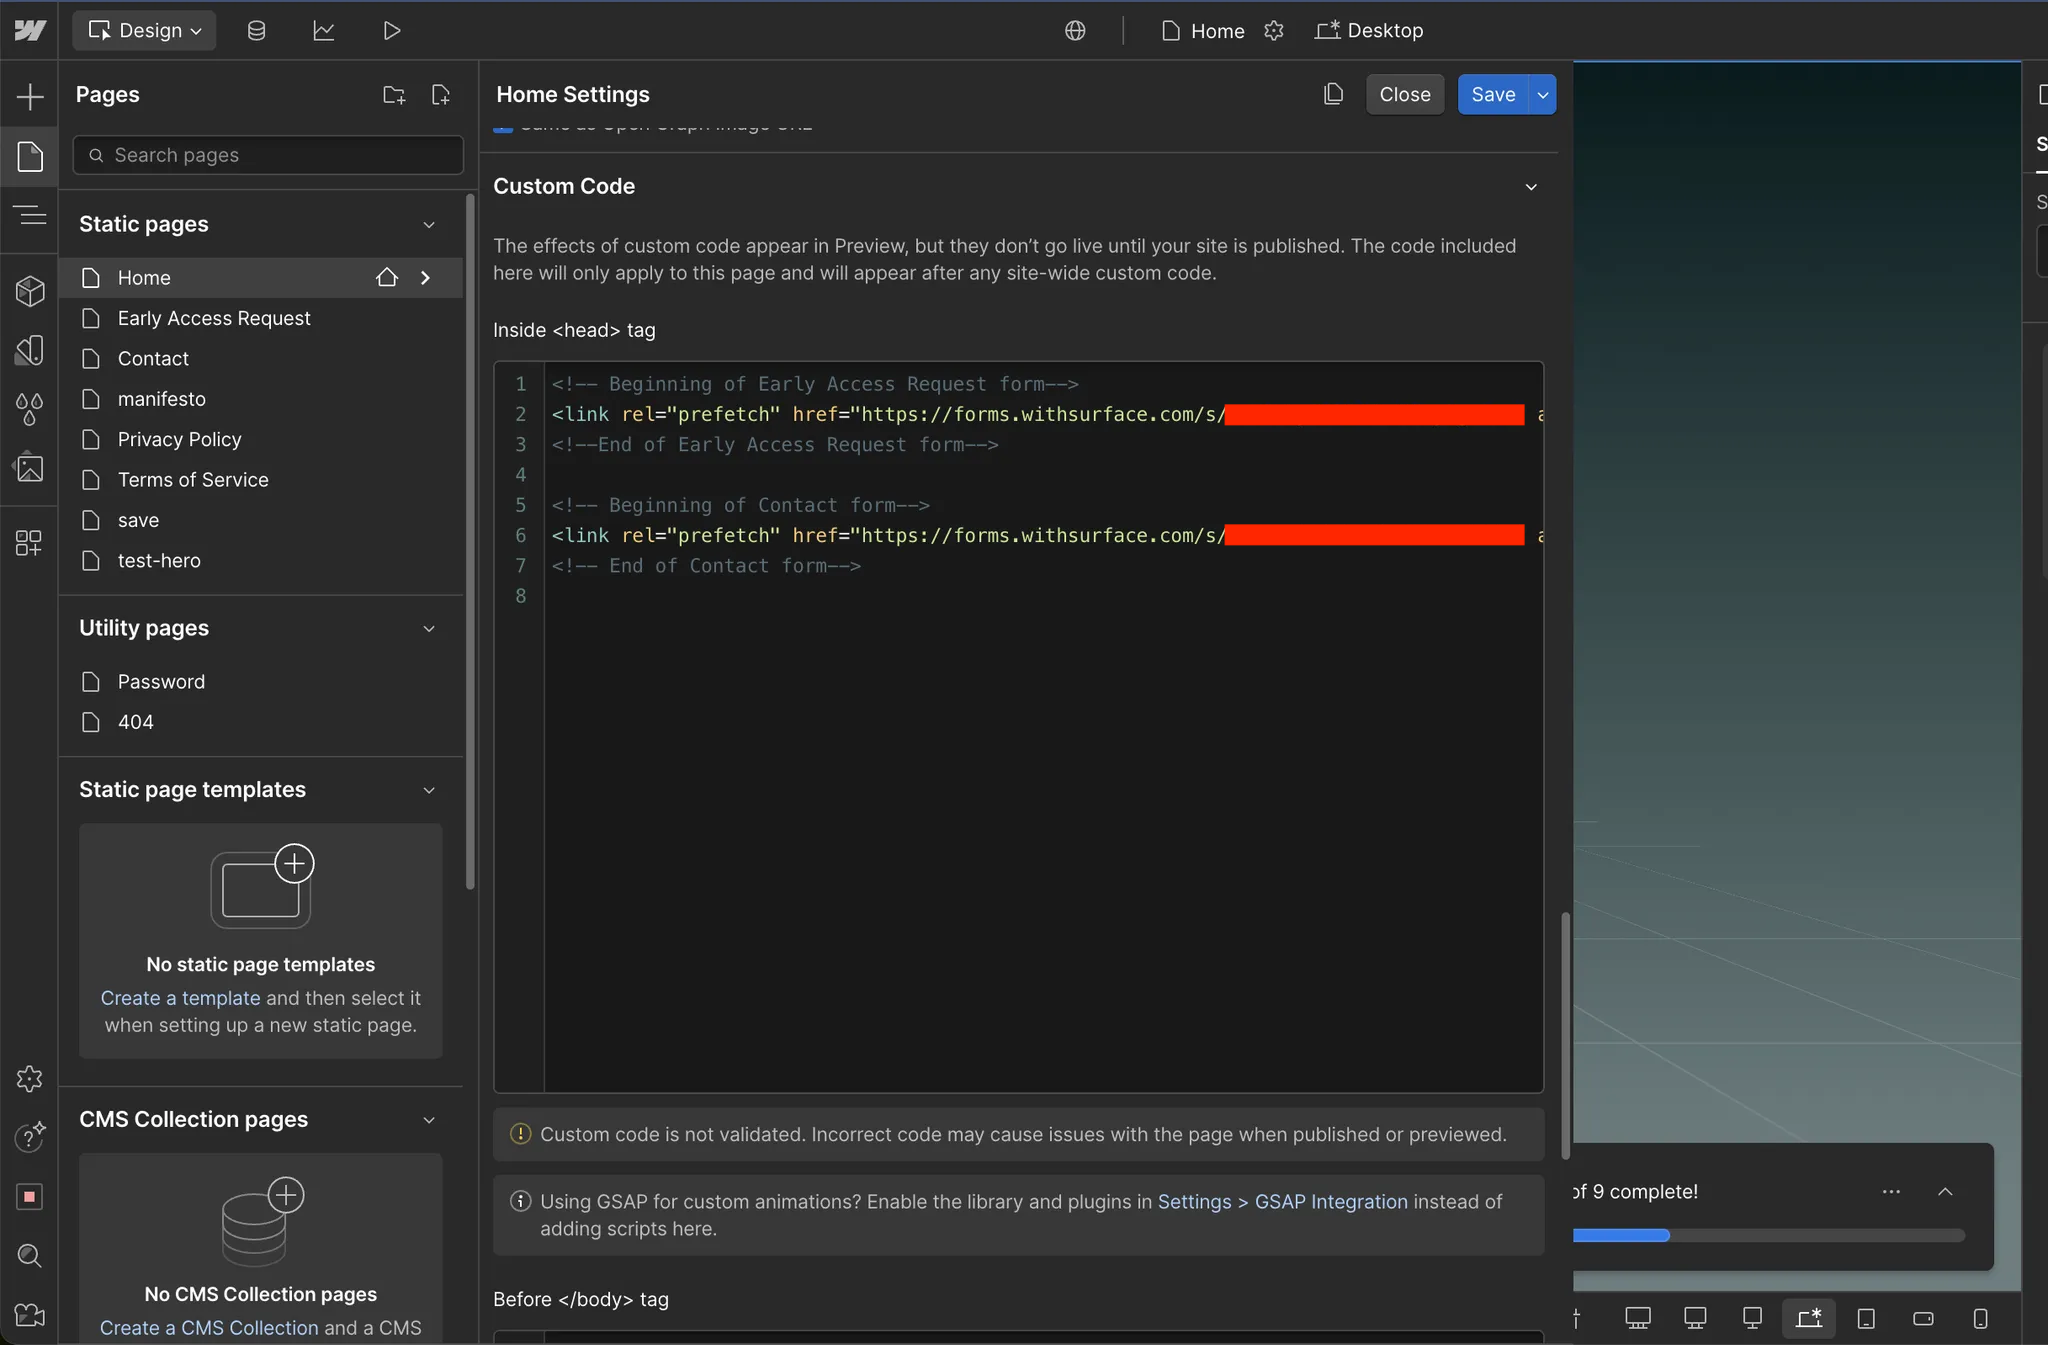
It should look like this